
Thinking about tiling your floor? That’s a fantastic idea!
Tile can transform your space. But before you pick out those gorgeous tiles, there’s a crucial step you can’t skip: preparing your subfloor. Your subfloor is the foundation for your entire tile project. Get it wrong, and your beautiful new tile could end up cracked, uneven, or worse.
Don’t let that happen! This guide will walk you through exactly how to prepare your subfloor for tile, ensuring a smooth, durable, and stunning result you’ll love for years to come. Let’s get started!
Assess Your Current Floor
Start by checking your floor’s condition. Ensure it is solid and level. This step is crucial for a good tile job.
Before laying tile, you must inspect your existing floor. This is a crucial step. It ensures a solid base. A good assessment prevents future problems. It saves you time and money.
Identify Subfloor Material
First, know what lies beneath. Is it plywood? Or is it concrete? Maybe it’s particleboard. Each material needs different preparation. Plywood is common. Concrete is very strong. Particleboard can be tricky.
Check For Damage
Look closely for any issues. Are there soft spots? Do you see rot? Are there any cracks? Loose areas need fixing. Water damage is a big concern. Repair all damage first. A damaged subfloor weakens tile.
Measure For Levelness
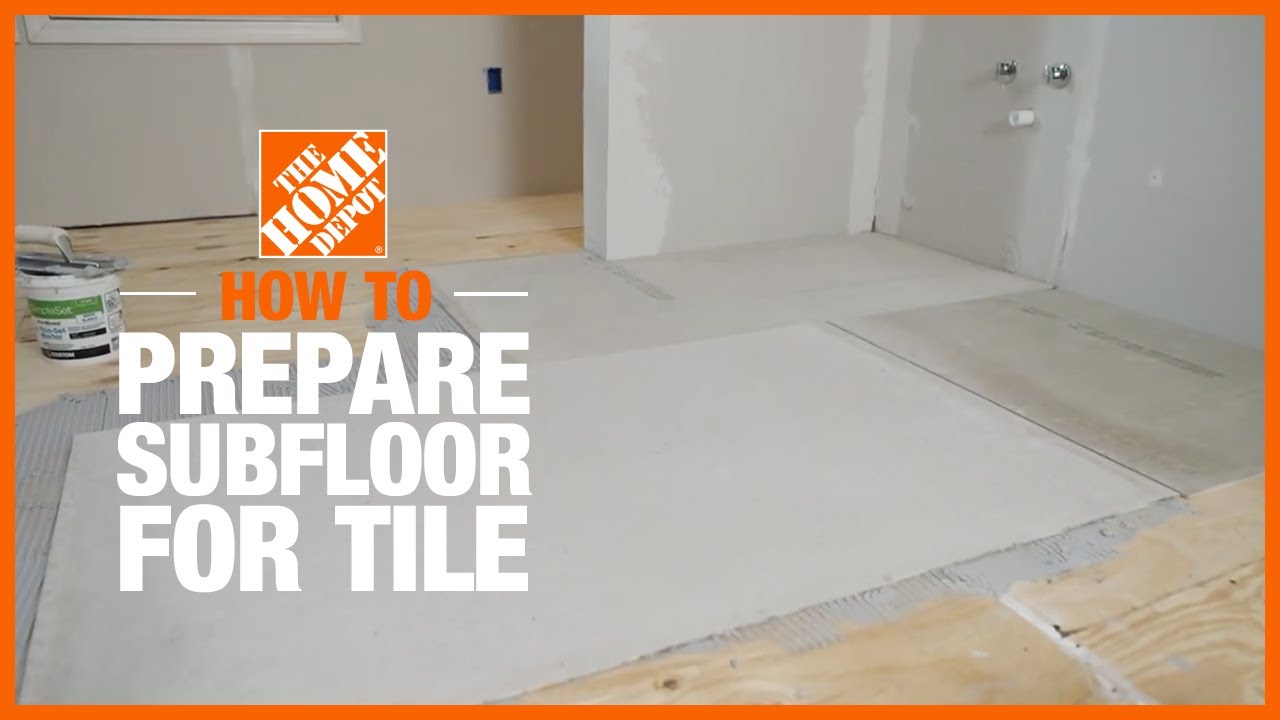
Your subfloor must be flat. Use a long, straight edge. Lay it across the surface. Check for gaps underneath. A level surface is key. Uneven floors cause tile cracks. They also look bad. Shims can fix low spots. Grinding can fix high spots.
Credit: www.homedepot.com
Clear The Area
Clear the area completely. Remove all furniture and debris. A clean space is essential for proper tile preparation.
A clean slate is essential. You must prepare the subfloor properly. This step ensures your tile job lasts. It prevents future problems. Let’s start by clearing the space.
Remove Baseboards
First, remove your baseboards. Use a pry bar gently. Work slowly and carefully. Protect your walls. You can reuse them later. Or, you can install new ones.
Remove Old Flooring
Next, remove any old flooring. This might be carpet or vinyl. Sometimes it is old tile. Use the right tools for removal. Scrape away any old adhesive. Make sure the subfloor is bare.
Clean Thoroughly
Now, clean the subfloor well. Sweep up all loose debris. Vacuum dust and fine particles. Use a damp mop. You want a spotless surface. No dirt should remain. This is very important.
Repair And Strengthen
A strong subfloor is key. Repair any damage first. Then, strengthen the area for a stable base. This ensures your tiles last.
Before laying tile, your subfloor needs to be solid. A strong base prevents future problems. This section focuses on fixing any existing issues. It ensures your tile installation lasts.
Fix Loose Floorboards
Loose boards creak. They shift underfoot. This movement can crack tile. Find all loose boards. Drive screws into them. Secure them tightly. Use screws long enough. They must reach the joists. This stops all movement.
Address Warped Or Damaged Areas
Wood can warp. It can also rot. Check for soft spots. Feel for sponginess. These areas weaken the floor. Remove damaged sections. Cut out rotten wood. Replace it with new plywood. Ensure the new wood is level. It should match the old height.
Reinforce Weak Spots
Some areas may feel less sturdy. They might be far from joists. Add extra support there. Install blocking between joists. This adds rigidity. You can also add another layer of plywood. This makes the subfloor very strong. It provides a great surface.
Achieve A Level Surface
A level subfloor is key. It ensures your tiles lay flat. This prevents cracks and unevenness later.
A perfectly level subfloor is crucial. Tile needs a flat base. Uneven surfaces cause problems. Tiles can crack. Grout lines look bad. Your tile floor will last longer. It will look much better too. This step is very important. Do not skip it.
Grind High Spots
Some areas might be too high. You can fix these. Use a floor grinder. This tool smooths rough spots. It removes high edges. Work slowly and carefully. Check your work often. You want a smooth finish.
Fill Low Spots
Other areas might be too low. These need filling. Use a patching compound. This product fills small dips. Apply it with a trowel. Scrape away extra material. Let it dry completely. Sand it smooth.
Use Self-leveling Compound
For larger low spots, use a special product. Self-leveling compound is ideal. Mix it with water. Pour it onto the subfloor. It spreads out evenly. It finds its own level. This creates a very flat surface. Follow the manufacturer’s instructions. Let it cure fully. This is a key step. Your tile will thank you.
Install Underlayment
Lay down your underlayment next. This layer protects your tile. It also helps it last longer.
Adding an underlayment is a crucial step. It protects your tile. It also prevents cracks. This layer provides a stable base. It helps absorb sound. It can also resist moisture. Proper installation is key. It ensures a long-lasting tile floor.
Choose The Right Underlayment
Select the best underlayment type. Cement backer board is popular. It is strong and stable. It handles moisture well. Another option is an uncoupling membrane. This material prevents tile cracks. It allows movement between layers. Consider your subfloor material. Think about the room’s conditions. Choose what fits your needs.
Cut And Fit Underlayment
Measure your room carefully. Plan your underlayment layout. You may need to cut pieces. Use a utility knife or saw. Cut pieces to fit the space. Leave small gaps around edges. This allows for expansion. Dry-fit the pieces first. Ensure a snug fit everywhere. Remove any excess material.
Secure Underlayment Properly
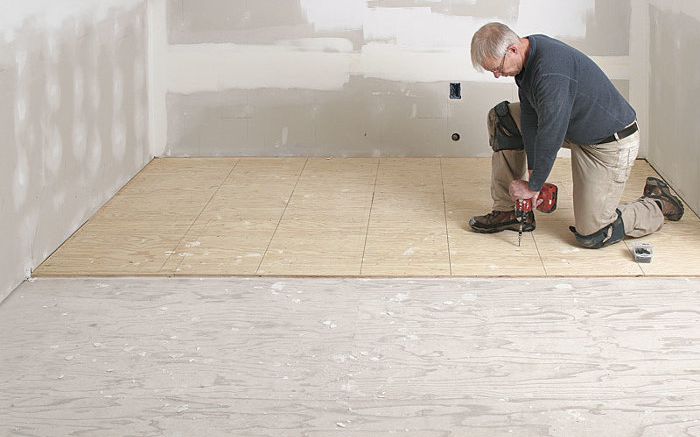
Fasten the underlayment down. Use the correct screws. Screws should be designed for this. They should not stick up. Space screws evenly. Follow manufacturer instructions. Drive screws flush with the surface. Do not overtighten the screws. This can damage the underlayment. A secure underlayment is vital.
Credit: www.finehomebuilding.com
Prepare For Grout Lines
Grout lines need clean, level surfaces. Ensure your subfloor is smooth. This prepares it perfectly for tile.
Proper grout line preparation is crucial. It ensures a beautiful and lasting tile installation. Small details make a big difference. Think of it as setting the stage for perfection.
Check For Gaps
Inspect your subfloor closely. Look for any small gaps. These can appear between subfloor panels. Gaps let moisture seep through. They can weaken your floor over time. Fill these gaps with a suitable filler. Use a flexible caulk or epoxy. Ensure the filler is completely dry. This creates a solid foundation.
Ensure Smoothness
Your subfloor must be perfectly smooth. Feel it with your hand. Any bumps will show through tiles. High spots cause tiles to rock. Low spots create voids underneath. These voids trap dirt and water. They can lead to cracked tiles. Use a floor scraper for high spots. Level low spots with a patching compound. Sand down any rough edges. A smooth surface is key.

Credit: www.homedepot.com
Frequently Asked Questions
What Is A Subfloor?
A subfloor is the base layer beneath your finished flooring. It provides support and a smooth surface. It’s essential for a stable tile installation.
Why Is Subfloor Prep Vital For Tile?
Proper subfloor preparation prevents cracks and shifting. It ensures tiles adhere well. A good base means a long-lasting floor.
How To Check Subfloor For Tile Readiness?
Inspect for any loose boards or squeaks. Ensure the surface is flat and level. Remove any old flooring or debris completely.
Can I Tile Over Old Vinyl Flooring?
Generally, no. Old vinyl can be uneven. It might not bond well with new adhesive. Remove it for the best results.
What If My Subfloor Is Uneven?
You might need a self-leveling compound. This product creates a flat surface. It’s crucial for preventing tile issues.
How To Fix Squeaky Subfloors?
Secure loose boards with screws. Drive them into the joists below. This stops movement and noise.
Do I Need Backer Board For Tile?
Yes, for most subfloors. Backer board adds stability and moisture resistance. It creates a superior base for tiles.
Conclusion
A strong subfloor means a great tile job. Proper prep prevents future problems. Check for levelness. Ensure it is clean. Fix any weak spots. This makes your tiles look their best. Your beautiful new floor awaits. Take your time. It is worth the effort.