
Thinking about adding a ceiling fan to your home? That’s a fantastic idea for better air circulation and comfort!
But before you can enjoy that gentle breeze, you need a secure place to mount it. This means installing a ceiling fan junction box. It’s not as complicated as it sounds, and doing it right ensures your fan stays safely attached.
Ready to get started? Let’s dive into how you can install your own ceiling fan junction box and get your new fan up and running.
Credit: www.youtube.com
Ceiling Fan Box Basics
Installing a ceiling fan requires a strong foundation. A special electrical box supports the fan’s weight. This box keeps your fan safe. It also protects your home. Understanding ceiling fan box basics is vital. This knowledge ensures a secure installation.
Why A Special Box Matters
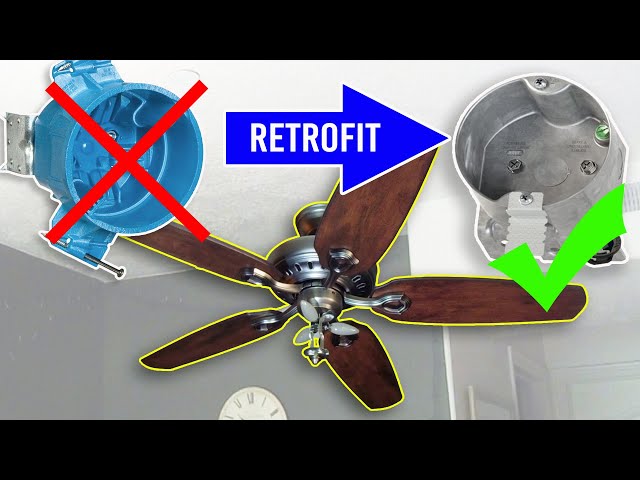
Ceiling fans are heavy. Regular light fixture boxes are not strong. They cannot hold a fan’s weight. A special box is reinforced. It attaches directly to a ceiling joist. This provides robust support. A standard box could fail. This leads to damage. It can also cause injury. Always use a fan-rated box.
Types Of Ceiling Fan Boxes
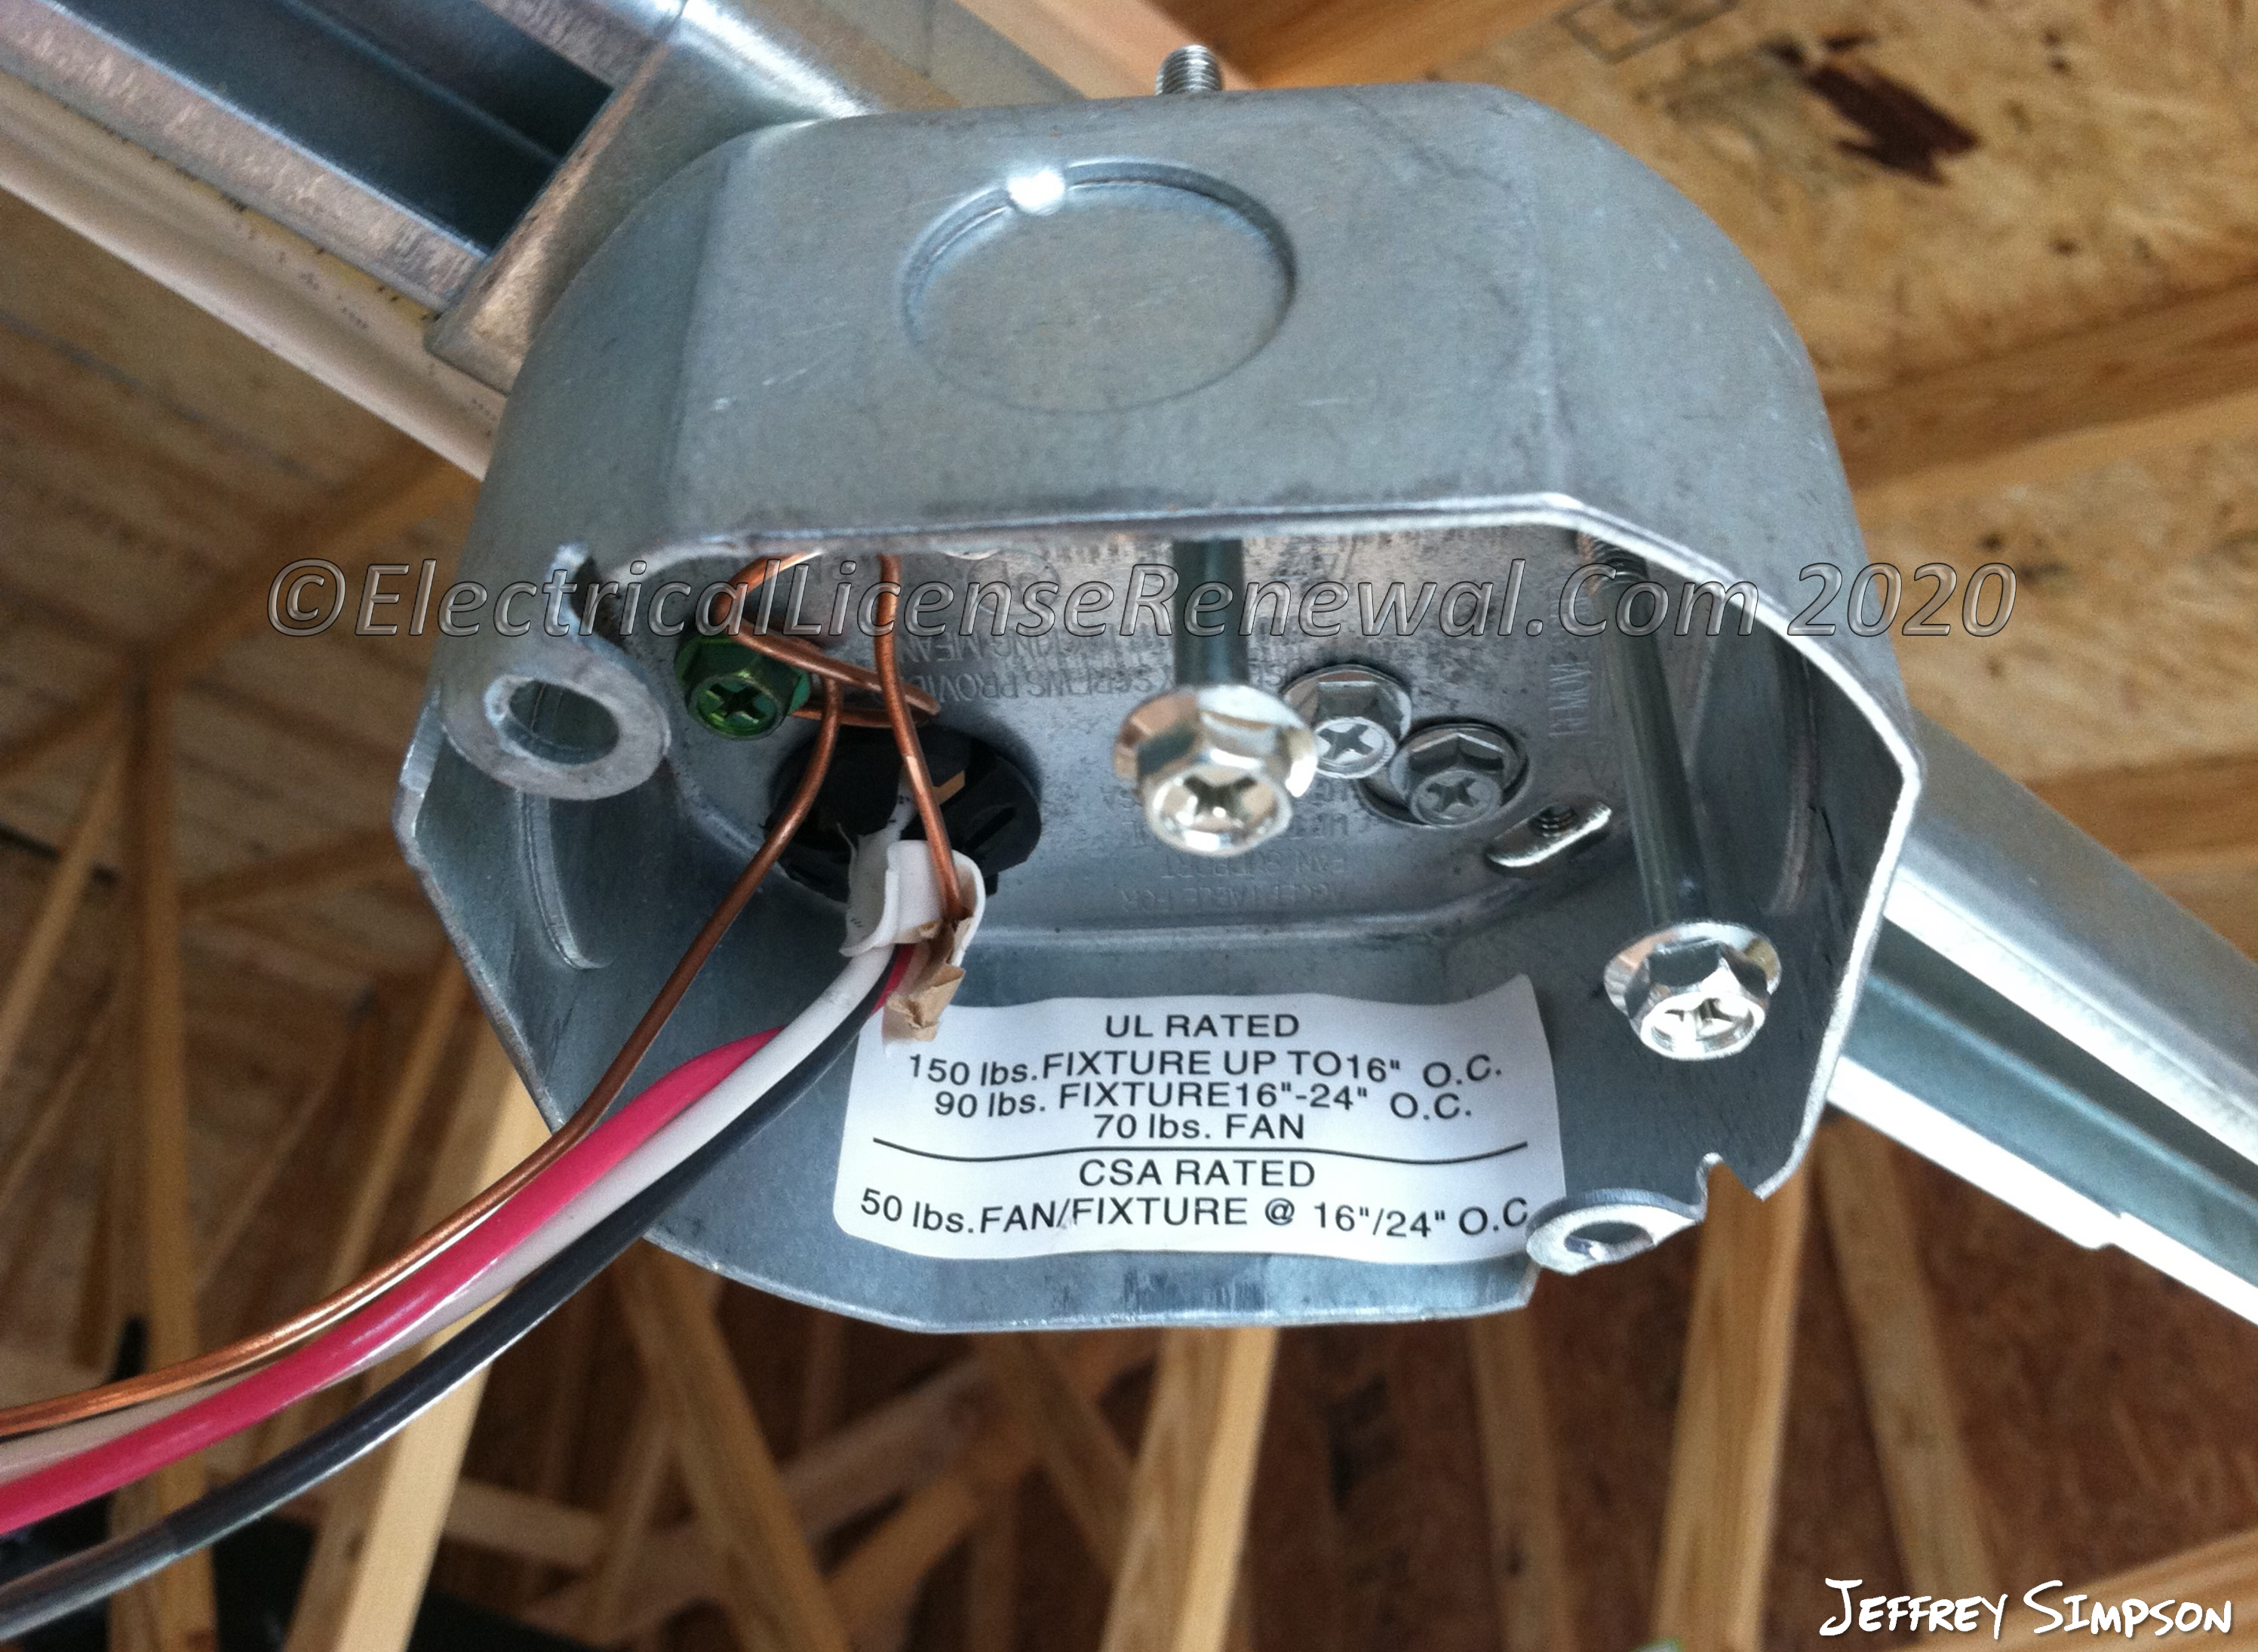
You have a few choices. Metal boxes are common. They are very durable. Plastic boxes are also available. Ensure they are fan-rated. Some boxes mount directly. Others use a brace system. Brace systems expand between joists. They offer excellent stability. Choose the type that fits your ceiling.
Gathering Your Tools
Before you start. You need the right tools. Gathering your tools makes the job easier. It ensures you are prepared. This prevents frustration later.
Essential Tools Checklist
You will need a few things. Get a new ceiling fan box. Make sure it is fan-rated. You also need a screwdriver set. Pliers are very useful. Wire strippers are essential. A voltage tester is crucial. A stepladder is necessary. You might need a stud finder. A pencil helps mark spots.
Safety Gear First
Safety comes before all else. Always wear safety glasses. They protect your eyes. Gloves prevent cuts. They keep your hands clean. Turn off the power. This is the most important step. Verify the power is off. Use your voltage tester.
Locating The Studs
Finding the right spot is key. You need solid support for your fan. Locating studs ensures a secure installation. This prevents wobbling and potential danger. We will guide you through this important step.
Finding Ceiling Joists
Ceiling joists are your anchors. They are the structural beams above. Your new fan box attaches to these. This provides the necessary strength. Proper joist location is vital. It guarantees fan safety. It also ensures lasting performance.
Using A Stud Finder
A stud finder makes this easy. It detects hidden framing. Turn the device on. Place it flat against the ceiling. Slide it slowly across the area. The finder will beep or light up. This signals a joist or stud. Mark these locations clearly. Repeat this process. Find multiple joists. This confirms your measurements. A secure mounting point is crucial. Your fan deserves strong support.
Credit: www.electricallicenserenewal.com
Preparing The Ceiling Space
Preparing the ceiling space is the first crucial step. This ensures your work is safe and clean. Proper preparation makes installing the new box much easier. It sets you up for success.
Turning Off Power
Safety first. Always turn off power. Find your home’s breaker box. Locate the circuit for the room. Flip the correct breaker switch. Test the light switch. Make sure the power is dead. A voltage tester confirms this.
Removing Old Fixtures
Take down the old light. Carefully remove the fixture. Unscrew mounting screws. Gently lower the old light. Disconnect the wires. Note how they were connected. Place the old fixture aside.
Installing The New Box
Installing the new box is a crucial step. This is where your fan will hang. Proper installation ensures safety. It also guarantees your fan works well. Take your time here. Accuracy matters greatly.
Mounting To A Joist
Find the ceiling joist. This is a strong wood beam. The box must attach to it. Use sturdy screws. Drive them deep into the joist. This provides a solid anchor.
Using A Brace System
Some ceilings lack joists. You might need a brace. These metal bars spread out. They fit between joists. The box attaches to the brace. This creates a strong support. It handles fan weight.
Securing The Box Firmly
The box must not move. It needs to be solid. Wiggle it after mounting. It should feel very secure. No wobbling is acceptable. A firm mount prevents issues.

Credit: community.smartthings.com
Wiring The Box
Wiring the box is a crucial step. It connects your fan to power. Safety comes first here. Always turn off power at the breaker. Double-check it is off. This prevents shocks. It keeps you safe.
Connecting Electrical Wires
You will see wires. They come from the ceiling. You will see wires in the fan. These need to connect. Use wire nuts. Twist them tightly. Ensure a secure connection. No loose wires are allowed. This is very important.
Following Color Codes
Colors matter greatly. Black wires are hot. They bring power. White wires are neutral. They return power. Green or bare copper wires are ground. They provide safety. Connect black to black. Connect white to white. Connect ground to ground. This ensures correct operation. It prevents electrical problems.
Attaching The Fan Bracket
Attaching the fan bracket is a crucial step. It secures your ceiling fan. A strong bracket prevents wobbling. It ensures the fan operates safely.
Ensuring A Sturdy Mount
Your fan needs a solid base. The bracket provides this. Use the screws provided. Make sure they are tight. The fan’s weight rests here. A weak mount is dangerous. Check all connections. The box should not move. It must feel very secure.
Alignment Is Key
Line up the bracket holes. Match them with the junction box. This is very important. The fan will hang straight. It will spin smoothly. If it’s not aligned, it’s bad. The fan might vibrate. It could make noise. Take your time. Get the alignment just right. This ensures a balanced fan. It guarantees quiet operation.
Final Checks
Secure the box firmly. Ensure all wires are connected properly. Test the fan for smooth operation.This is an important step. You are almost done installing your ceiling fan. Take a moment. Ensure everything is secure. Safety comes first. Double-check your work. This prevents problems later.
Double-checking Connections
Look at all wire connections. Are they tight? Wiggle each wire gently. It should not pull out. Ensure wire nuts are secure. No bare wires should show. Check the fan mounting bracket. Is it firmly attached? Is it level? All screws must be tight.
Restoring Power Safely
Turn off the circuit breaker again. This is a crucial safety step. Confirm power is off. Use a voltage tester. Touch it to the wires. It should read zero volts. Now you can restore power. Flip the circuit breaker back on. The fan should be ready. Test the fan operation. Check for wobbling. Enjoy your new fan.
Frequently Asked Questions
What Is A Ceiling Fan Junction Box?
A junction box is a safe enclosure. It protects electrical connections for your fan.
Can I Use Any Electrical Box For A Fan?
No, not all boxes work. It needs to be fan-rated. This means it supports the weight.
How Do I Find The Right Junction Box?
Look for “fan-rated” on the box. Check its weight capacity. It must hold your fan securely.
Where Should The Junction Box Be Installed?
Install it in the ceiling joist. This joist must be strong. It will hold the fan’s weight.
Do I Need An Electrician To Install This?
A qualified electrician is best. They ensure safe and proper installation. Electrical work can be dangerous.
How To Attach A Fan Box To A Joist?
Use screws designed for wood. Make sure they go into the joist. A secure mounting is vital.
What If My Ceiling Has No Joist?
Use a fan brace or support. These expand to fit between joists. They create a strong mounting point.
Conclusion
Installing a ceiling fan box is achievable. You can do it yourself. Follow these steps carefully. Safety first, always. Check your wiring thoroughly. A secure box supports your fan. Enjoy the cool breeze. You’ve completed the task.