
Ready to transform your floors? Painting wood floors is a fantastic way to breathe new life into a room, and it’s more achievable than you might think.
You’re probably wondering if you can really do this yourself and get professional-looking results. The good news is, with the right steps, you absolutely can! We’re going to walk you through everything you need to know, from picking the perfect paint to achieving a durable, beautiful finish.
Get ready to give your home a stunning, affordable makeover that you’ll be proud of. Let’s dive in!
Why Paint Your Wood Floors?
Painting your wood floors offers many benefits. It changes your home’s look. It also makes floors last longer. It can save you money too. Let’s explore why painting is a great choice.
Aesthetic Transformation
Want a fresh look? Paint your floors. You can choose any color. Create a modern feel. Or try a classic style. Your room will look new. It’s a dramatic change. A simple paint job. Big visual impact.
Durability And Protection
Wood floors need care. Paint adds a strong layer. It shields the wood. This stops scratches. It prevents wear and tear. Your floors will be tougher. They will last much longer. Paint protects your investment.
Cost-effective Solution
New floors cost a lot. Painting is cheaper. You can update old floors. You don’t need to replace them. Save money on materials. Save money on labor. Get a new look for less. It’s a smart budget choice.
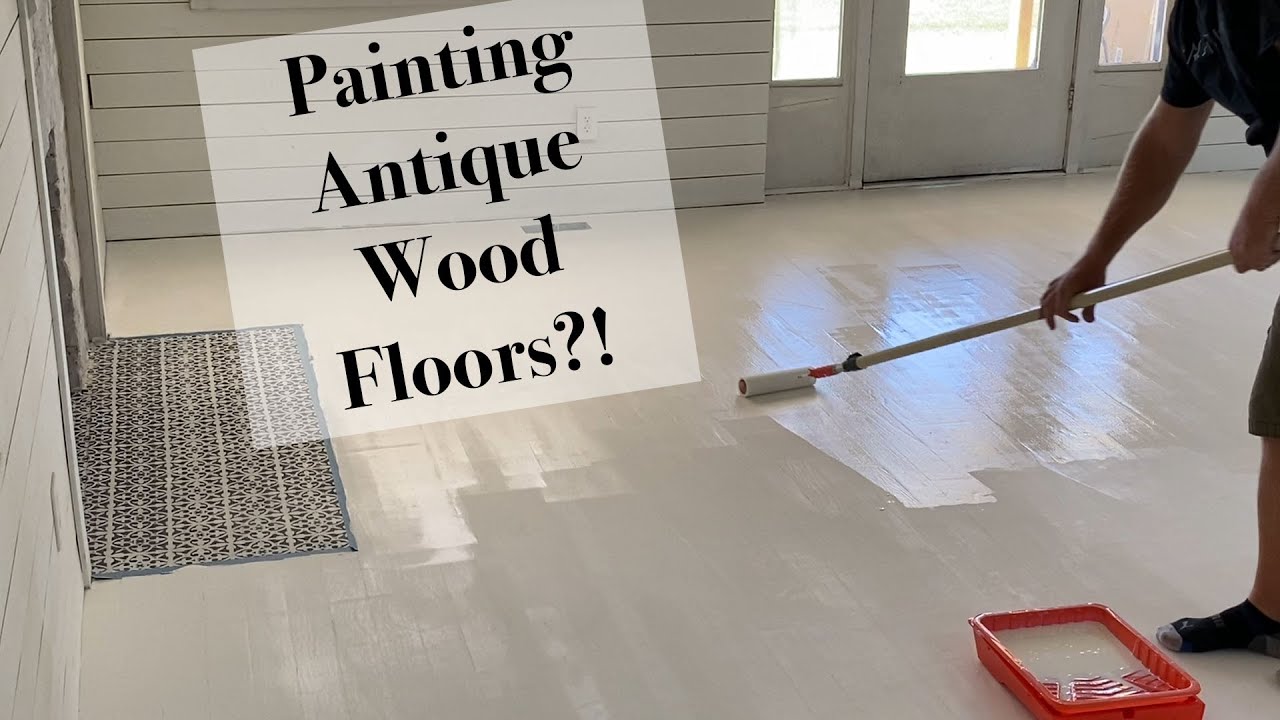
Credit: www.youtube.com
Choosing The Right Paint
Selecting the right paint matters. Use durable floor paint. It withstands heavy foot traffic.
Choosing the right paint is crucial. It sets the stage for a beautiful floor. This decision impacts durability and look. Consider your needs carefully. The paint you select matters greatly.
Paint Types: Latex Vs. Oil-based
Latex paint is water-based. It cleans up easily with water. Latex dries fast. It is also low in odor. Oil-based paint offers tough durability. It levels out smoothly. Oil-based paint has strong fumes. It requires mineral spirits for cleanup.
Specialty Floor Paints
Some paints are made for floors. These offer extra strength. They resist scuffing and wear. Look for paints labeled “floor paint.” Garage floor paint is very tough. Porch and deck paints work well too.
Primer Essentials
Primer is a must. It helps paint stick. Primer seals porous wood. It creates an even surface. Use a good quality primer. It prevents future peeling. Choose a primer for wood.
Topcoat For Protection
A topcoat adds a shield. It protects the painted floor. It resists scratches and dirt. Polyurethane is a popular choice. It comes in different sheens. A clear topcoat is vital. It keeps your floor looking new.
Gathering Your Supplies
Before you start painting your wood floor, gather your supplies. This step is very important. It makes the job easier. Having everything ready saves time. You will not stop mid-project. This ensures a smooth painting process. Let’s see what you need.
Cleaning Tools
You need good cleaning tools. A stiff-bristled broom works well. A vacuum cleaner is also helpful. Get a good mop. A bucket for water is essential. You also need a floor cleaner. Choose one for wood floors. Clean floors are key. Dust and dirt must go. A clean surface helps paint stick.
Sanding Equipment
Sanding prepares the floor. You need sandpaper. Get different grits. Start with coarse grit. Move to finer grits. A sanding block is useful. For larger areas, rent a floor sander. This saves a lot of effort. Sanding smooths the wood. It removes old finishes. It creates a perfect surface. Paint adheres much better.
Application Tools: Brushes, Rollers, And More
Now for the painting tools. You need good paint brushes. Get a few different sizes. A wide brush is good for large areas. A smaller brush is for edges. Paint rollers are very efficient. Choose a quality roller cover. A paint tray holds the paint. A paint roller extension pole helps. It reaches difficult spots. Consider painter’s tape. It protects trim and walls.
Safety Gear
Safety comes first always. Wear safety glasses. They protect your eyes. Use work gloves. They protect your hands. A dust mask is important. Sanding creates fine dust. You do not want to breathe it. Wear old clothes. Paint can get messy. Proper safety gear keeps you safe. It makes the project enjoyable.
Preparing Your Floors
Preparing your floors is vital. This step ensures a smooth, lasting finish. Good prep work prevents future problems. It makes painting easier. Take your time with this part.
Clearing The Space
Move all furniture out. Clear the entire room. You need space to work. This makes painting safe. It also prevents drips.
Deep Cleaning
Floors get dirty. Dirt stops paint from sticking. Scrub your floors well. Use a good cleaner. Rinse thoroughly. Let them dry completely.
Sanding For Adhesion
Sanding creates a rough surface. Paint sticks better to rough surfaces. Use medium-grit sandpaper. Sand the entire floor. Don’t skip this step. It really helps paint hold.
Repairing Imperfections
Look for damage. Fix any cracks or holes. Use wood filler. Let the filler dry. Sand the repaired spots smooth. A smooth floor looks best.
Dust Removal Is Key
Sanding creates dust. Dust is the enemy. It gets in the paint. Use a vacuum cleaner. Then use a damp cloth. Get rid of all dust. This is very important.
Priming For Success
Priming sets the stage for a beautiful paint job. It’s a crucial step for durable wood floors. Proper priming ensures your paint adheres well. It creates a smooth, even surface for color. Think of it as a foundation for your floor’s new look.
Why Prime?
Primer seals the wood grain. It prevents stains from bleeding through. Primer helps paint stick better. It creates a uniform base color. This means fewer paint coats are needed. You get a more professional finish. It saves you time and effort later.
Application Techniques
Use a good quality primer. Choose one made for wood floors. Apply a thin, even coat. Use a roller or a good brush. Work in one direction. Avoid leaving drips or puddles. Cover the entire floor surface. Ensure complete coverage.
Drying Time
Read the primer can instructions. Drying times vary by product. Allow adequate drying time. This is usually several hours. Do not rush the drying process. A fully dry primer is essential. It ensures the next coat adheres. Patience here pays off.
Applying The Paint
Apply the paint evenly. Use a brush for edges. A roller works best for large areas. Let each coat dry fully.
This section covers painting your wooden floor. We will focus on applying the paint. Proper application ensures a beautiful, lasting finish. Prepare for a smooth painting process.
First Coat Application
Start painting the main floor area. Use a roller for large sections. Work in small, manageable areas. Maintain a wet edge as you go. This prevents lap marks. Move with even, steady strokes. Don’t overwork the paint. Apply a thin, even layer. This is crucial for good adhesion.
Drying Between Coats
Allow adequate drying time. Check the paint can instructions. Humidity affects drying time. Ensure the first coat is fully dry. Touch it lightly. It should not feel sticky. Proper drying prevents peeling. It also ensures a smooth surface. Patience is key here.
Second Coat And Beyond
Apply a second coat. This adds durability. It also deepens the color. You might need a third coat. This depends on your paint. It depends on your desired look. Repeat the application process. Ensure thin, even layers. Let each coat dry completely. This builds a strong finish.
Edge And Detail Work
Use a good quality brush. Paint along the edges first. Get into corners carefully. Trim around baseboards. Work with precision. Don’t rush this part. A clean edge looks professional. It makes the whole floor pop. Ensure paint coverage is complete.
Sealing And Curing
Proper sealing protects your painted floor. Curing allows the paint to harden fully. This step ensures a durable, beautiful finish.
Sealing And Curing: The Final Touches For Your Wood Floor
Sealing and curing are vital steps. They protect your painted wood floor. This ensures its beauty lasts. It also makes it durable. Don’t skip these important stages. They are the final defense.
The Role Of A Topcoat
A topcoat is your floor’s shield. It adds a protective layer. This layer resists scratches. It also fights wear and tear. Spills bead up on top. Cleaning becomes much easier. A good topcoat keeps paint fresh. It prevents chipping and fading. Choose a quality sealant. Polyurethane is a popular choice. It offers great protection.
Applying The Topcoat
Prepare the surface first. Ensure it is clean and dry. Use a good quality brush. Or use a foam roller. Apply the topcoat evenly. Work in thin, smooth coats. Avoid puddles. This creates a smooth finish. Let each coat dry fully. Check the product instructions. Sand lightly between coats. This helps with adhesion. It creates a stronger bond.
Allowing For Proper Curing
Curing is different from drying. Drying means the surface is not wet. Curing means the sealant hardens completely. This takes time. Be patient. Keep traffic off the floor. Light foot traffic is okay after 24 hours. Heavy furniture needs more time. Wait at least 7 days for furniture. Avoid rugs for 2 weeks. This allows the sealant to fully cure. A fully cured floor is tough. It can handle daily life.
Caring For Painted Floors
Painting your wood floors offers a fresh look. Proper preparation ensures a durable finish. Gentle cleaning preserves your beautiful painted floor for years.
Painted floors look beautiful. They add charm to any room. Proper care keeps them looking great. This section helps you maintain your painted floors.
Daily Cleaning Tips
Sweep your floors often. Use a soft broom. Dust and dirt can scratch paint. A damp mop works well. Use a mild soap. Do not use harsh chemicals. They can damage the paint. Always wipe up spills quickly. Liquids can soften paint.
Preventing Scratches And Wear
Use doormats at entrances. They catch dirt and grit. Grit causes scratches. Place rugs in high-traffic areas. This protects the painted surface. Avoid dragging furniture. Use felt pads on furniture legs. They slide smoothly. They prevent gouges.
Touch-up Strategies
Small scratches happen. Do not worry. Keep extra paint handy. Use a small brush for touch-ups. Apply paint carefully. Feather the edges. Blend it with the old paint. This makes repairs nearly invisible. For larger damage, consider repainting.
Creative Paint Ideas
Painting your wooden floors offers amazing creative potential. Go beyond basic finishes. Transform your space with unique designs. Let your personality shine through. Your floors can be a focal point.
Bold Color Choices
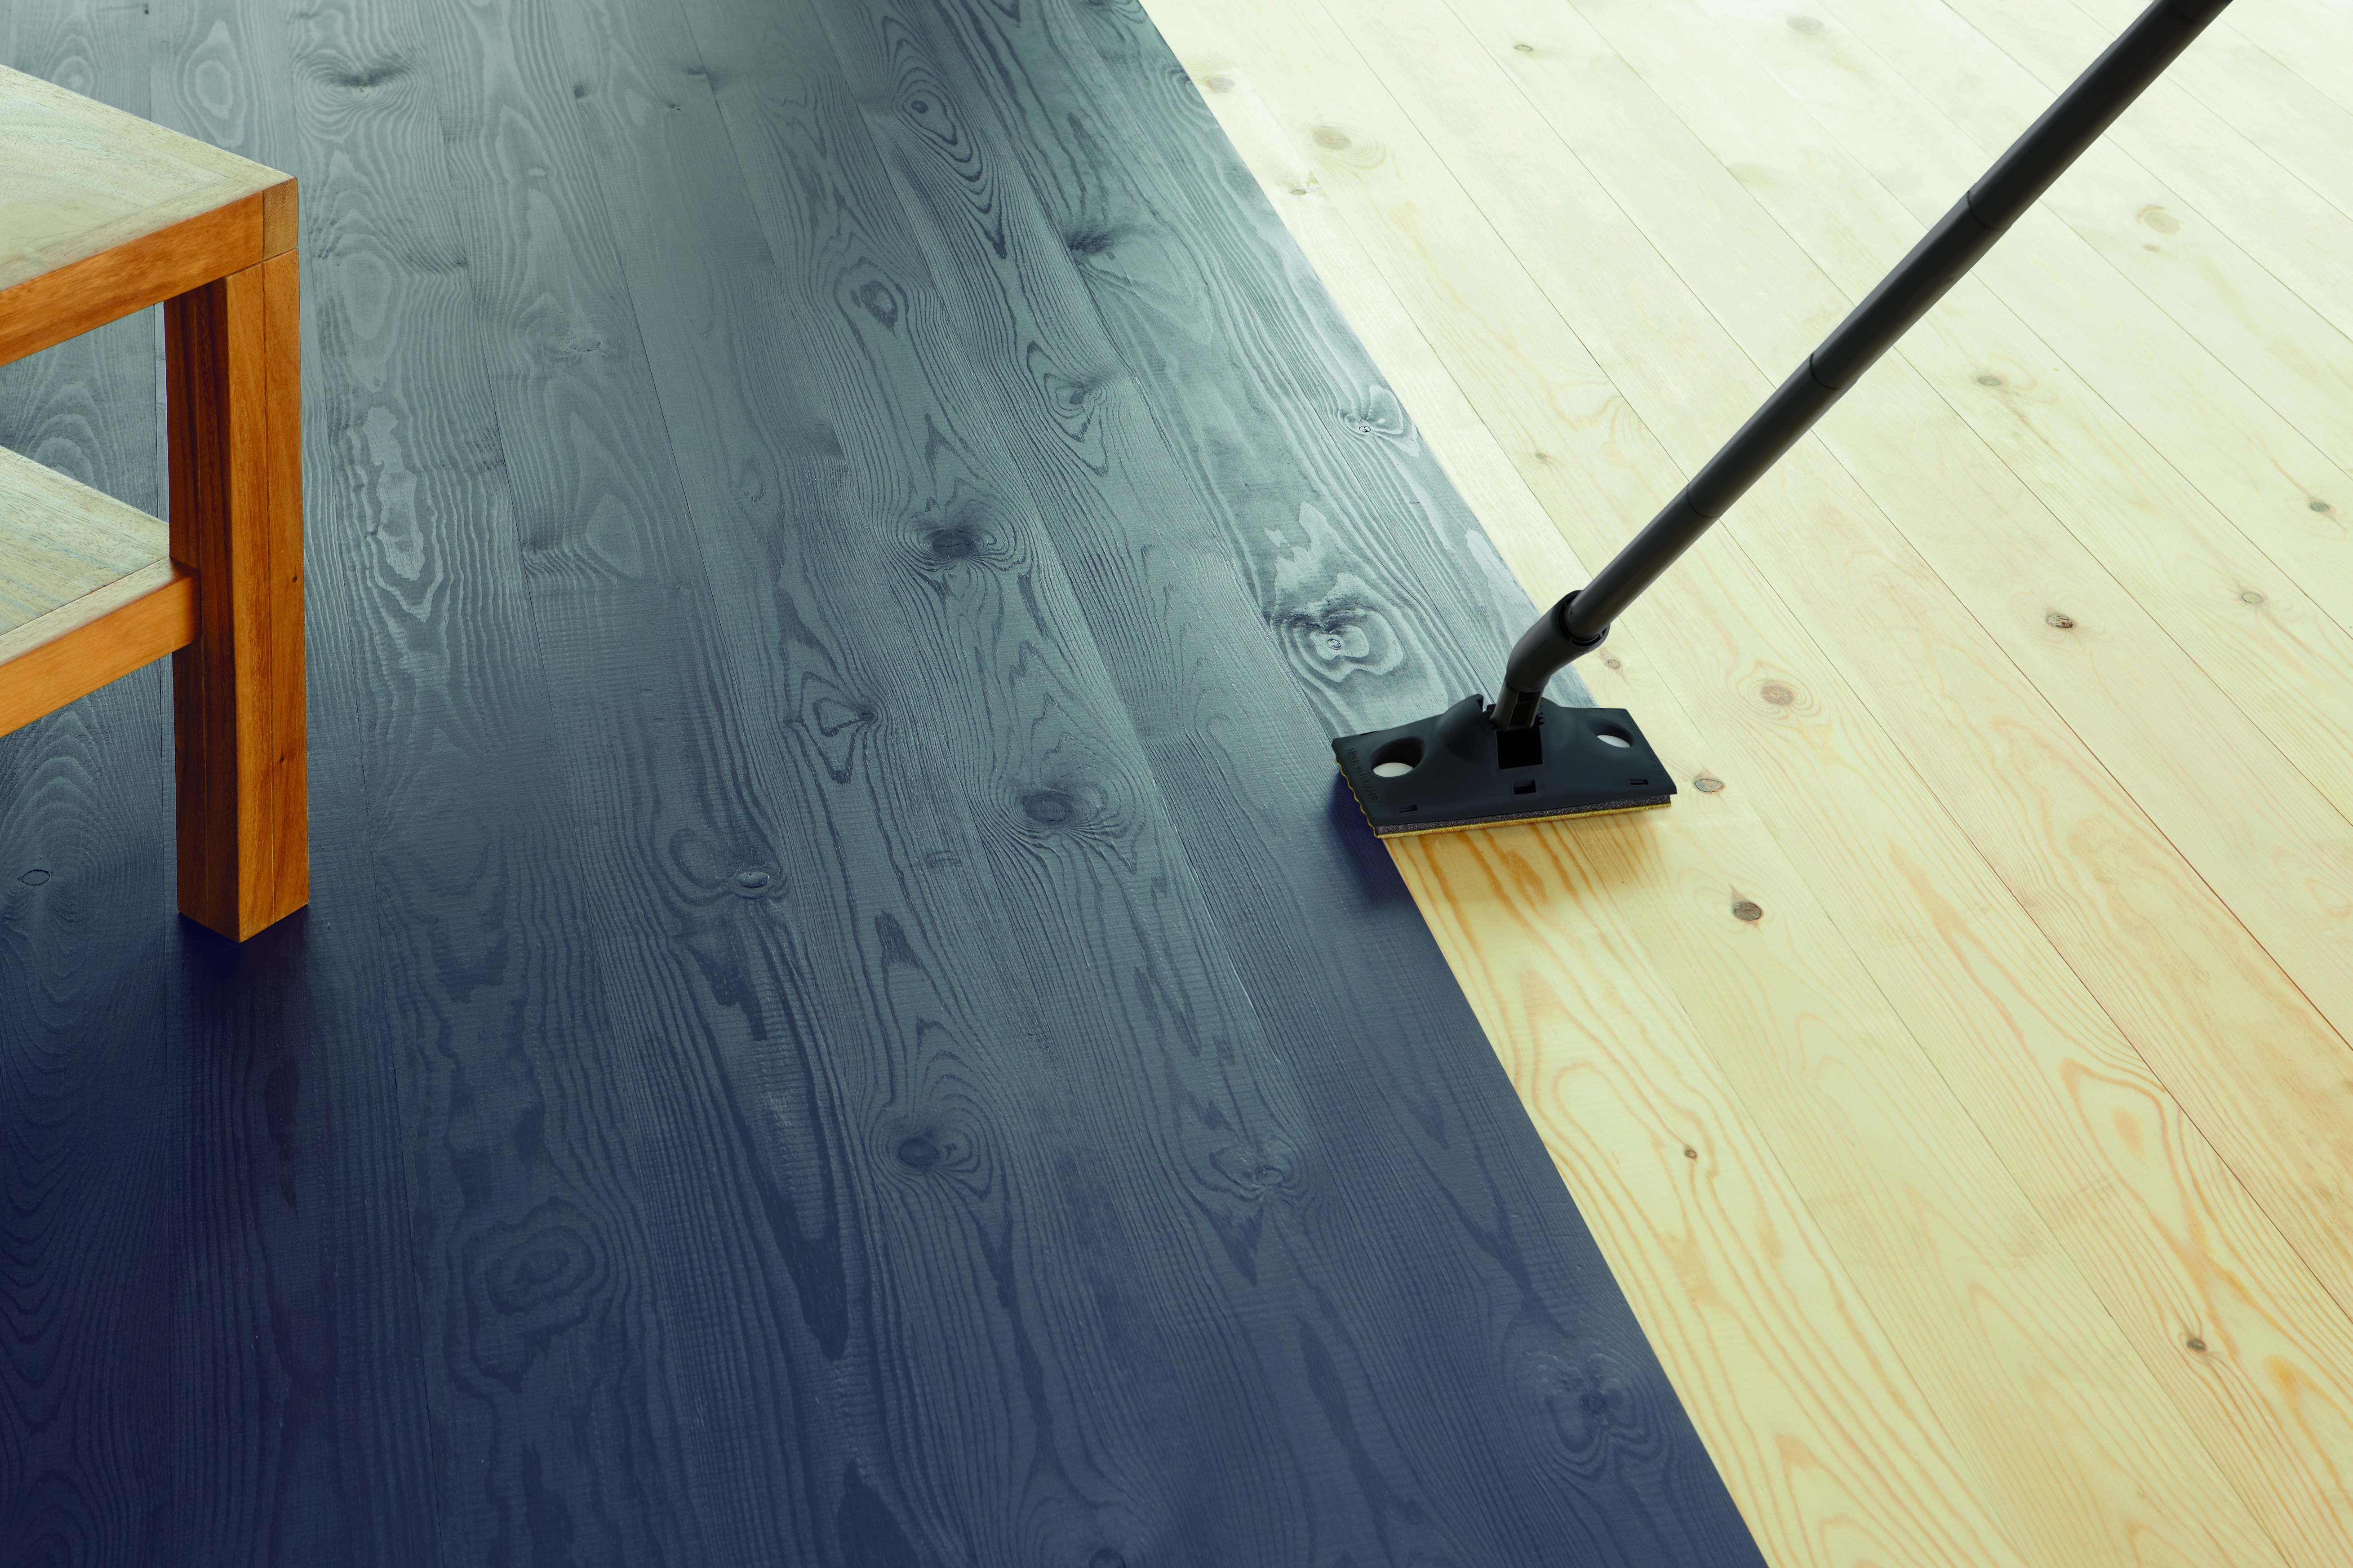
Want a dramatic look? Choose vibrant colors. Deep blues make a statement. Fiery reds add energy. Emerald greens feel luxurious. Bright yellows bring sunshine inside. Bold colors demand attention. They create a strong impression. Paint your floors a single, striking hue. It’s simple yet impactful.
Stenciled Designs
Add intricate patterns. Stencils are your best friend. Use them for beautiful results. Floral motifs are charming. Geometric shapes look modern. Create a custom pattern. Even simple borders work well. Stenciling adds a custom touch. It elevates your floor’s appeal.
Distressed And Antiqued Looks
Achieve a vintage feel. Distressing creates aged charm. Apply a base coat of paint. Add a second, contrasting color. Sand through the top layer. This reveals the color below. It mimics natural wear. Antiquing adds depth. Use a glaze over dried paint. Wipe away excess. This creates an aged patina.
Two-tone And Patterned Floors
Combine different colors. Create stripes for a dynamic look. Alternate colors in a checkerboard. This adds visual interest. Consider a central medallion. Use a large stencil for this. Two-tone floors are eye-catching. Patterns bring personality. They make your room unique. Think outside the box.
Credit: www.ronseal.com
Credit: www.ronseal.com
Frequently Asked Questions
What Wood Floor Paint Is Best?
Choose a durable floor paint. Latex or oil-based enamel paints work well. Look for products made for floors.
How To Prepare Wood Floors For Painting?
Clean the floors thoroughly. Sand them to create a smooth surface. Wipe away all dust.
Do I Need A Primer For Wood Floors?
Yes, a good primer is essential. It helps paint stick better. It also covers stains.
How Many Coats Of Paint Are Needed?
Apply at least two coats. Allow each coat to dry fully. A third coat may be needed.
How Long Does Painted Wood Floor Last?
With proper care, it can last years. Avoid heavy traffic initially. Use felt pads on furniture.
Can I Paint Over Old Floor Paint?
Yes, but preparation is key. Clean and sand the old paint. Apply a fresh primer.
How To Clean Painted Wood Floors?
Use a soft broom or vacuum. Mop with a damp cloth. Avoid harsh cleaners or too much water.
Conclusion
Painting your wood floors is a great idea. It brings a fresh new look. Proper prep makes a big difference. Choose the right paint for durability. Take your time with each step. Enjoy your beautiful, transformed floors. You can do this.