
Tired of seeing those annoying brush marks on your freshly painted trim? You’ve put in the effort, but the result isn’t quite the smooth, professional finish you envisioned.
Don’t worry, you’re not alone! Many DIYers struggle with this common painting problem. But what if you could achieve a flawless, factory-like finish on your trim, every single time? This guide will show you exactly how to paint trim without brush strokes.
Get ready to transform your home with trim that looks like it was done by a pro.
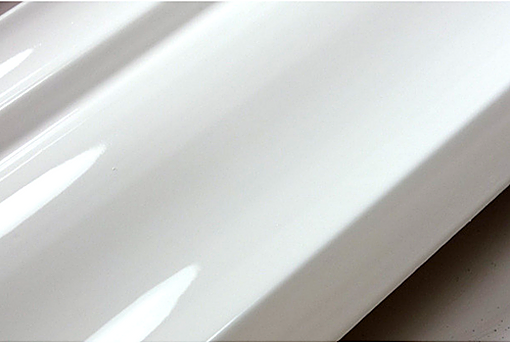
Credit: www.renupaintingamarillo.com
Prep Work Perfection
Prep work is crucial. It ensures a smooth, professional finish. Perfect preparation prevents problems. It makes painting trim easy. This section covers essential prep steps.
Cleanliness Is Key
Dirt ruins paint jobs. Remove all dust. Wipe down the trim. Use a damp cloth. A little soap helps. Rinse thoroughly. Let it dry completely. Clean surfaces accept paint best.
The Sanding Secret
Sanding creates a smooth base. It removes imperfections. Use fine-grit sandpaper. Sand the trim lightly. Focus on rough spots. Wipe away dust again. Smooth trim takes paint well. This step is vital.
Taping Like A Pro
Protect surrounding areas. Use painter’s tape. Apply it carefully. Press down the edges. This prevents paint bleed. Ensure a crisp line. Good tape application saves time. It looks professional.

Credit: www.youtube.com
Choosing The Right Paint
Smooth trim paint is key. Choose a quality paint. It helps avoid ugly brush marks.
Choosing the right paint is crucial. It helps you get a smooth finish. Bad paint creates problems. Good paint makes trim painting easy. It’s the first step to perfection.
Sheen Matters
Paint sheen affects the look. It also affects durability. Trim often gets touched. It needs a tough finish. Satin sheen is popular. It has a soft glow. It hides minor flaws well. It cleans up easily. Semi-gloss sheen is also good. It offers more shine. It is very durable. It resists moisture well. This makes it great for kitchens. It also works for bathrooms. High-gloss sheen is very shiny. It shows every imperfection. It is the most durable. Use it for a dramatic look. Matte or flat sheens are not ideal. They do not hold up well. They are hard to clean. Avoid them for trim.
Paint Types For Trim
Oil-based paint offers a hard finish. It levels out very smoothly. Brush strokes disappear. It is very durable. It takes longer to dry. Cleanup requires mineral spirits. It has strong fumes. Water-based paint is easier. It dries much faster. Cleanup is simple with soap. It has fewer fumes. Modern water-based paints are good. They offer excellent durability. Look for acrylic-alkyd blends. These combine oil and water benefits. They give a smooth, hard finish. They are a great choice for trim. Choose a paint designed for trim. These paints are formulated for durability. They also provide a smooth finish. They level out nicely. This minimizes brush marks.
Tool Talk: Brushes & Rollers
Choosing the right tools makes a big difference. This section talks about brushes and rollers. We will explore what works best. Get ready for a smooth finish.
The Ideal Brush
Use a good quality brush. A synthetic brush is excellent. It holds paint well. Look for angled bristles. This helps reach tight spots. A 2-inch angled brush is perfect. It offers great control. Clean brushes are important. They prevent streaks. Dip the brush lightly. Don’t overload it with paint.
When To Use A Roller
Rollers are for larger trim areas. Think baseboards or wide door frames. A small foam roller works well. It applies paint evenly. Foam rollers create a smooth surface. Avoid thick naps. They can leave texture. Rollers speed up the job. They cover more ground quickly. Use light pressure. This prevents drips.
Essential Accessories
Painter’s tape is a must. It protects surrounding areas. Apply it carefully and straight. Use a putty knife to seal edges. This stops paint bleeding under. A paint tray is also needed. It holds your paint. A paint shield helps too. It guards walls from roller drips. Clean rags are useful. They wipe up mistakes fast.
The Painting Process
Achieve a smooth finish on your trim. Use a high-quality foam roller for even paint application. This method prevents those annoying brush marks.
Painting trim takes patience. A smooth finish is the goal. Follow these steps carefully. You will get great results. This section details the painting process.
Thin Coats Rule
Apply paint in thin layers. Do not glob it on. Multiple thin coats are best. It prevents drips and runs. This leads to a smoother finish. Let each coat dry fully. This is very important.
The One-direction Rule
Always paint in one direction. Brush with the trim’s grain. Start at one end. Move to the other end. This technique minimizes strokes. It creates a uniform look. Do not go back and forth.
Feathering Edges
Lighten your brush pressure. As you reach the end. This is called feathering. It blends the paint stroke. It makes brush marks disappear. Do it at the end of each stroke.
Dealing With Corners
Corners need special attention. Paint into the corner first. Use a small brush. Get good coverage there. Then, paint away from the corner. Use light, even strokes. This ensures a clean line.
Advanced Techniques
Smooth trim painting is achievable. Use advanced techniques for a flawless finish. This guide shows you how to avoid brush marks.
When you’re ready for a truly flawless finish, advanced techniques elevate your trim painting. These methods go beyond the basics. They deliver professional results. You can achieve showroom quality.
Spraying For Smoothness
Spraying trim offers unmatched smoothness. It creates a factory-like finish. You use a paint sprayer for this. There are different types of sprayers. Airless sprayers work well. HVLP sprayers are also good. Prepare your space carefully. Mask everything thoroughly. Dust is the enemy of spray paint. Thin your paint correctly. Follow the paint manufacturer’s advice. Apply thin, even coats. Overlap each pass slightly. Move the sprayer at a steady speed. Avoid drips and runs. Practice on scrap wood first. This builds your confidence.
Tips For Different Trim Materials
Different trim materials need different care. Wood trim is common. It soaks up paint. Prime it first. This seals the wood. It prevents grain raising. Metal trim needs special prep. Clean it well. Remove any rust. Use a metal primer. This helps paint stick. Plastic trim can be tricky. Some paints don’t adhere. Use a bonding primer. This creates a good base. Always test paint first. Test in an inconspicuous spot. This avoids costly mistakes.
Troubleshooting Common Issues
Even experts face painting problems. Don’t worry. We have solutions. This section helps fix common trim painting issues.
Addressing Drips
Drips happen. It’s okay. A tiny amount of paint causes them. You can fix drips easily. Wait for the paint to set slightly. Use a clean, damp cloth. Gently wipe away the drip. Smooth the area. Let it dry completely. Apply another thin coat if needed.
Fixing Uneven Coverage
Patchy spots are frustrating. They make trim look messy. This often means not enough paint. Or, the paint was applied too thin. You need a second coat. Ensure the first coat is dry. Apply a fresh, thin layer. Use smooth, even strokes. Work in the same direction. This creates a uniform finish.
Dealing With Globs
Globs are thick paint blobs. They ruin a smooth look. Globs form from too much paint. Or, paint dried in the can. Remove excess paint from your brush. Dip the brush lightly. Wipe it on the can’s edge. If globs are wet, fix them now. Use a clean brush or rag. Gently spread the paint. Smooth the surface carefully. Let it dry. Sand down hard globs. Then, repaint the area.
The Final Touch
The painting is almost done. You put in great work. Now, it’s time for the last steps. These make your trim look perfect. They ensure a professional finish.
Removing Tape Wisely
Wait for the paint to dry. This is very important. Damp paint can peel. Pull the tape slowly. Go at an angle. This helps prevent paint lifting. If paint sticks to the tape, cut along the edge. Use a sharp utility knife. Score the line gently. This breaks the seal. Then, pull the tape away.
Inspection And Touch-ups
Look closely at the trim. Check for any missed spots. Are there small drips? Are there tiny imperfections? Use a small artist’s brush. Dip it in your paint. Gently touch up these areas. Work carefully. Let each touch-up dry fully. This final check is key. It ensures a smooth, clean look. Your trim will look amazing. It’s a job well done.
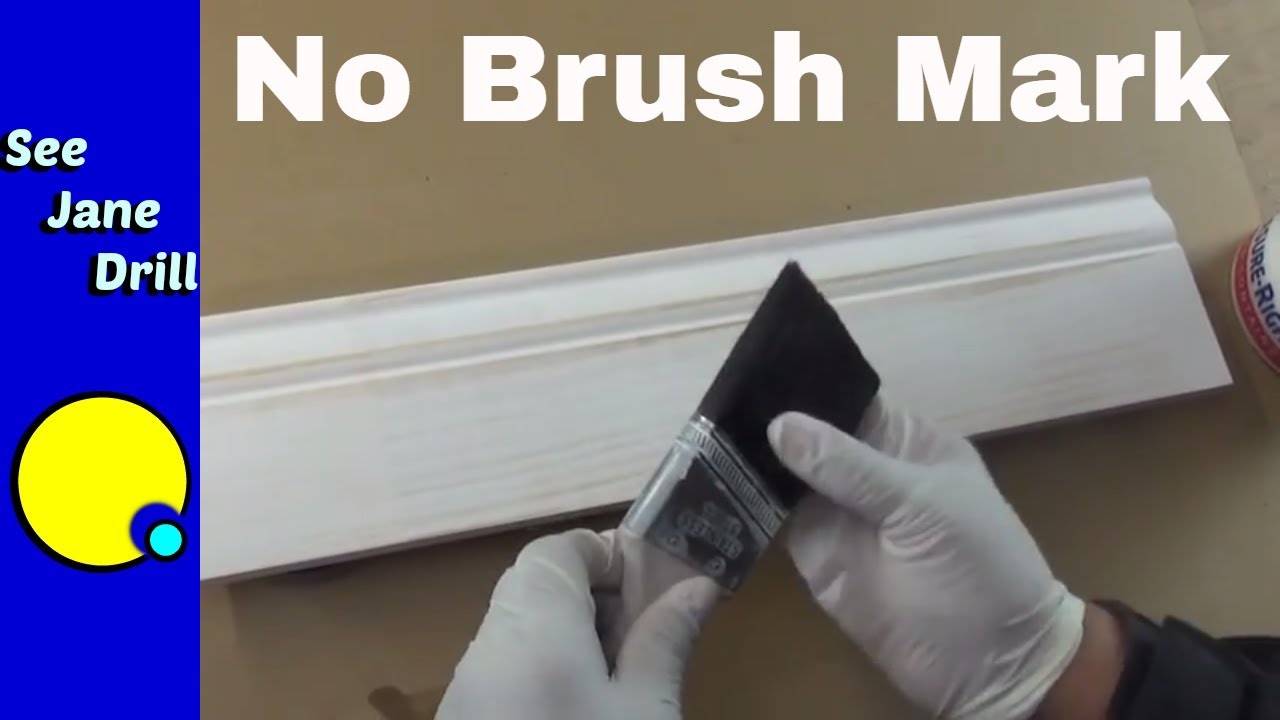
Credit: www.youtube.com
Frequently Asked Questions
What’s The Best Paint For Trim?
Use a high-quality enamel paint. These paints level out nicely. They create a smooth, durable finish.
How To Get Smooth Trim Paint?
Prep your trim well. Use a good brush. Apply thin, even coats.
Should I Use A Roller Or Brush For Trim?
A high-quality brush is best. It gives more control. Rollers can leave a bubbly texture.
What Kind Of Brush For Trim Painting?
A synthetic bristle brush works well. Look for one with angled bristles. This helps reach tight spots.
How Many Coats Of Paint For Trim?
Two thin coats are usually enough. Let each coat dry fully. This ensures a smooth, solid color.
How To Avoid Paint Drips On Trim?
Wipe excess paint off your brush. Paint in smooth, steady strokes. Work from top to bottom.
How To Fix Brush Strokes On Trim?
Lightly sand the dried paint. Use fine-grit sandpaper. Then, apply another thin coat.
Conclusion
Achieve smooth trim. Say goodbye to brush marks. Your painting will look professional. Follow these simple steps. Use the right tools. Take your time. Enjoy your flawless finish. It’s easier than you think. Your home will look amazing.