
Is a water stain on your ceiling ruining the look of your room? You’re not alone.
Those unsightly splotches can make even the prettiest space feel dingy. But before you call in the professionals, know this: you can fix it yourself! Painting over a water-stained ceiling is a surprisingly simple DIY project that can refresh your home and boost your confidence.
Ready to say goodbye to those yellow or brown marks for good? Keep reading, and we’ll show you exactly how to get a flawless finish.
Credit: www.homebuilding.co.uk
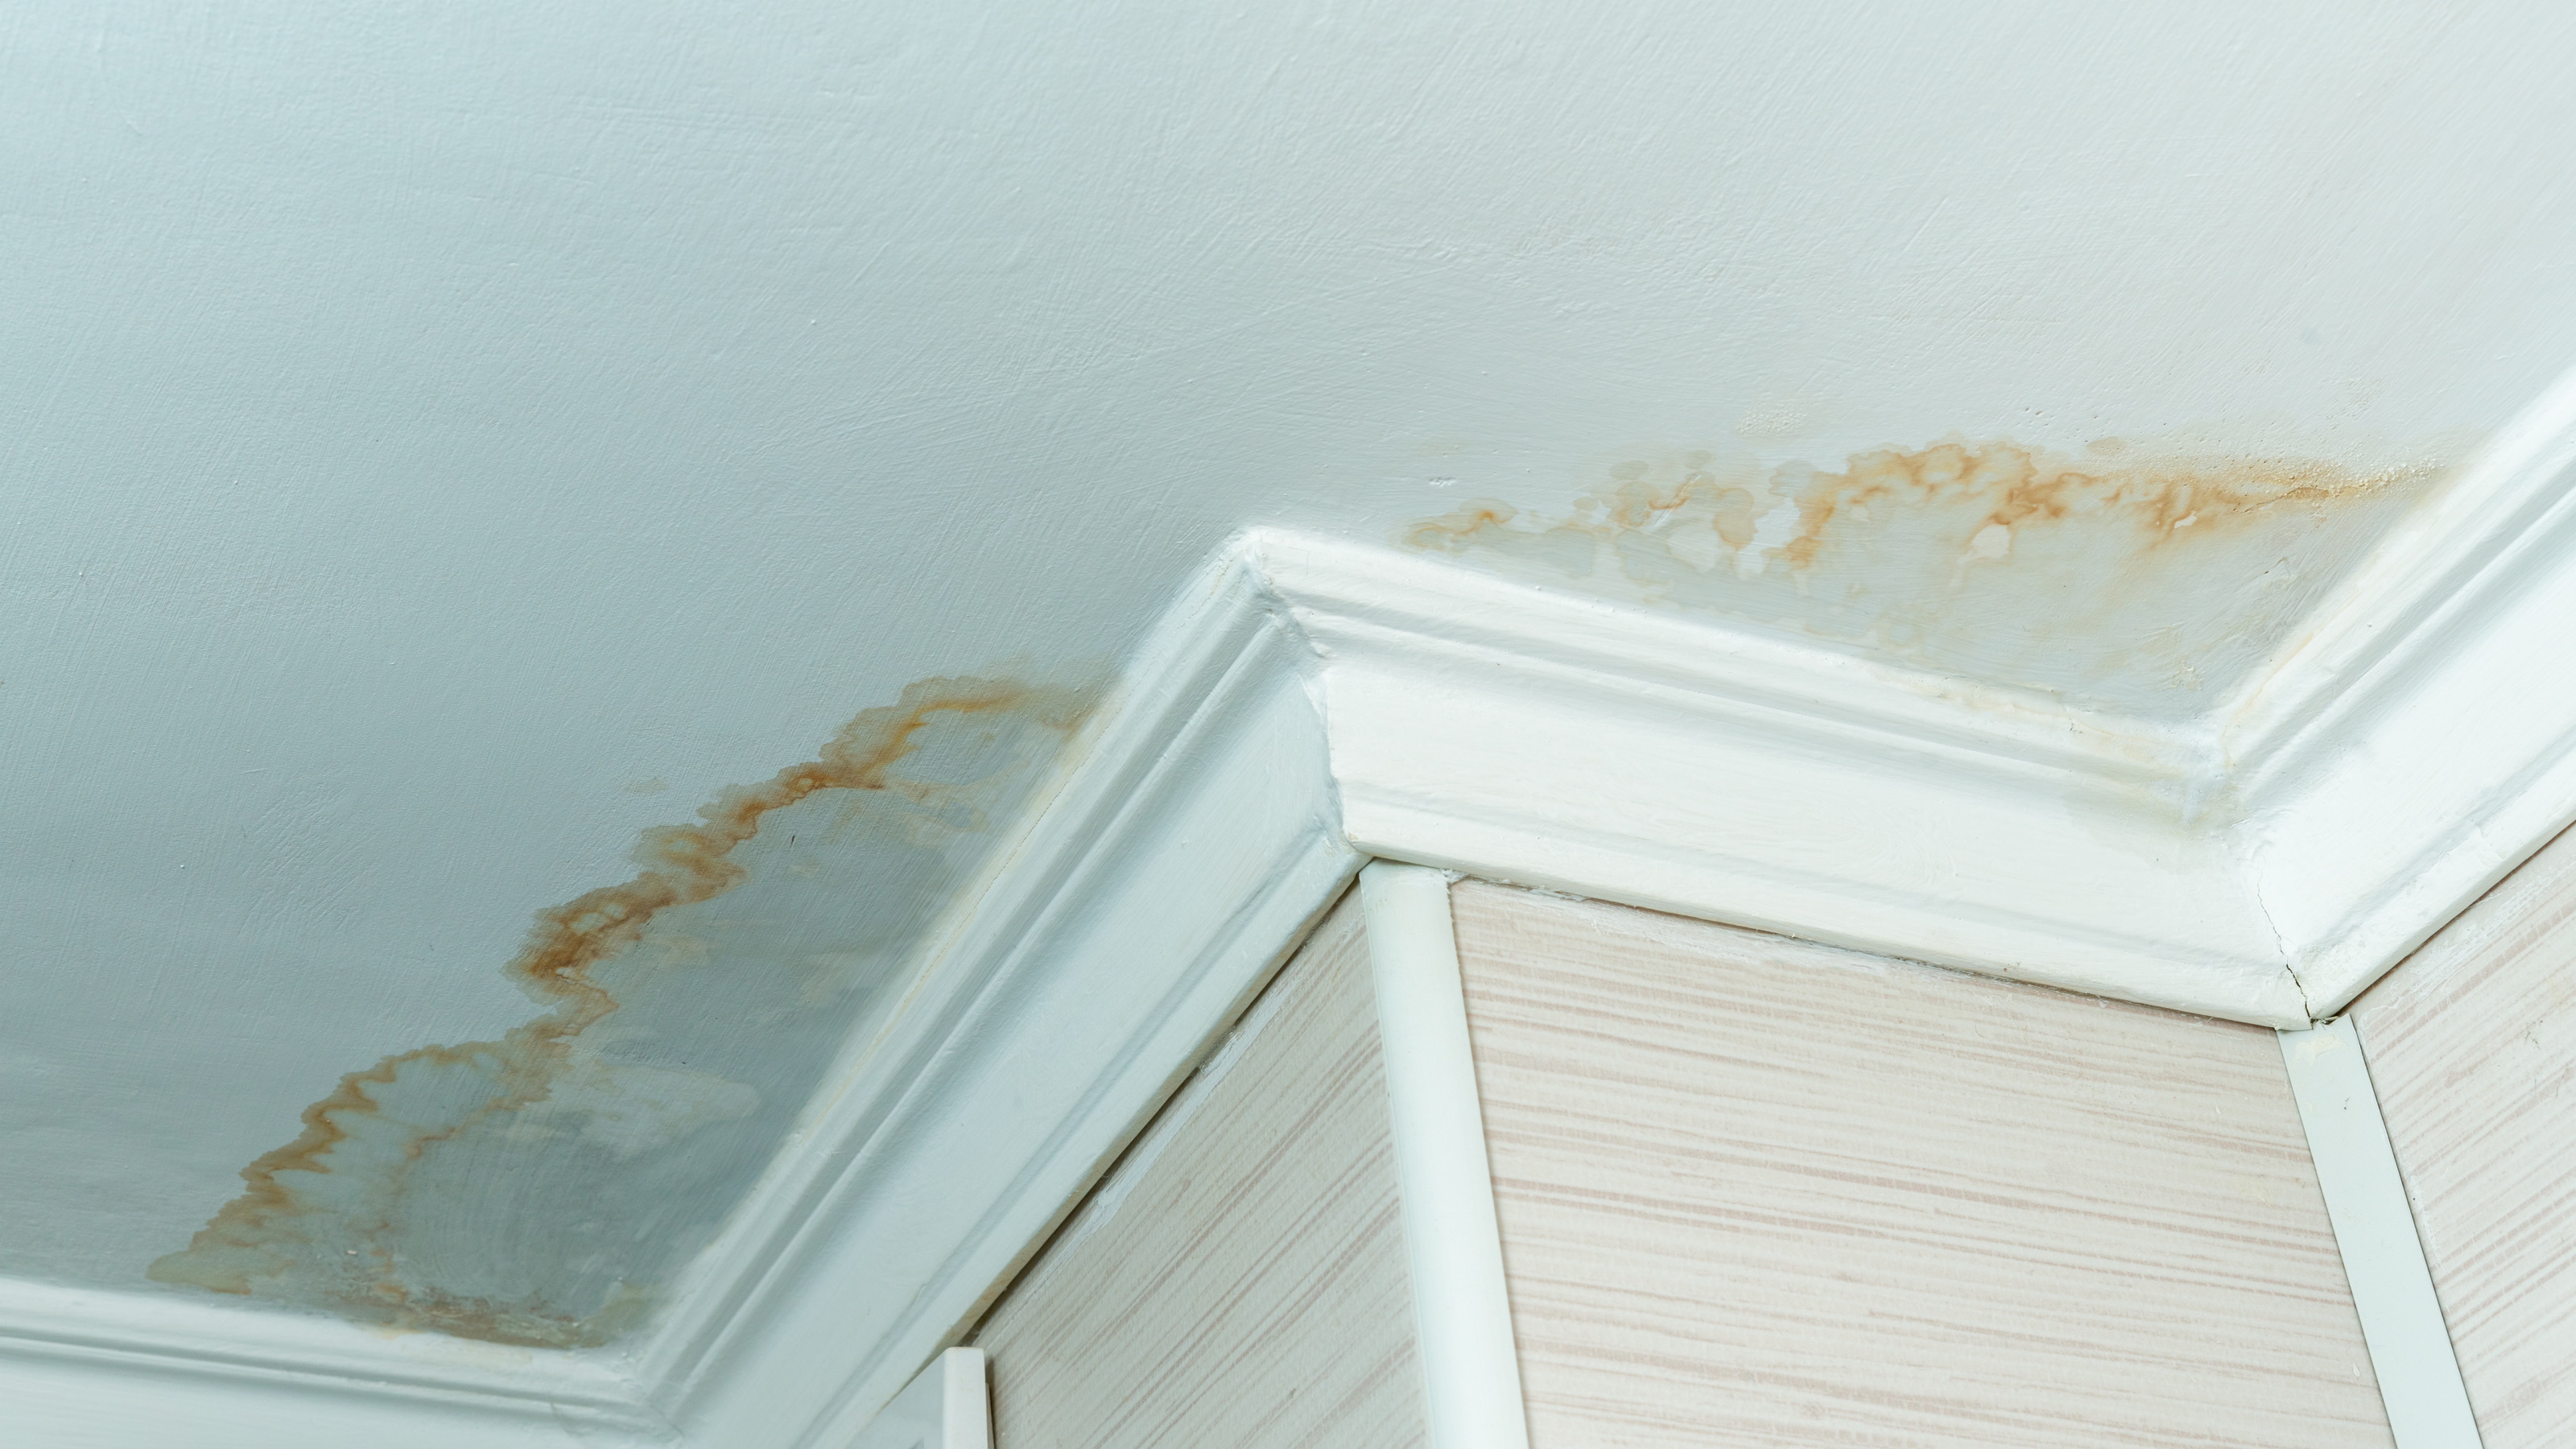
Identify The Stain Source
Identifying the stain source is crucial. You must fix the problem. Painting over a stain without fixing it is a waste. The stain will return. This step prevents future issues. It saves you time and money.
Locate The Leak
Find where the water came from. Check the attic. Look for wet spots. Inspect pipes for leaks. Examine the roof for damage. A small leak can cause big problems. Water finds any opening.
Assess Water Damage Extent
See how bad the damage is. Is the drywall soft? Does it feel spongy? Is the paint peeling away? Check for mold or mildew. Mold is unhealthy. It needs immediate attention. Small spots are usually okay. Large areas need repair.
Prepare The Area
Clear the room. Cover furniture and floors. Ensure good ventilation for safety.
Proper preparation is key. It makes painting easier. It ensures a better finish. You will avoid many problems. Let’s get the area ready.
Protect Furniture And Floors
Cover everything. Use drop cloths. Plastic sheeting works well. Protect your belongings. Protect your floors. This step saves cleanup time.
Clean The Stained Area
You must clean the stain. Use a mild detergent. A soft cloth is good. Gently scrub the stain. Rinse the area well. Let it dry completely. This removes dirt. It helps primer stick.
Ensure Proper Ventilation
Open windows. Use fans. Good airflow is important. Paint fumes can be strong. Ventilation keeps air fresh. It helps paint dry faster.
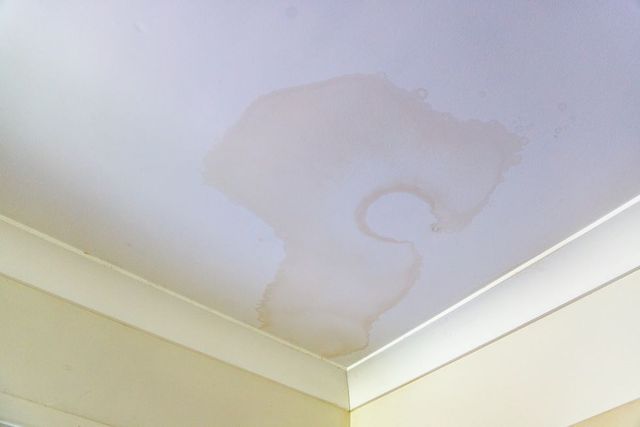
Prime The Stain
Water stains on ceilings are a common problem. Proper preparation is key for a good paint job. Priming seals the stains effectively. This ensures the new paint looks smooth and even.
Priming is a crucial step. It blocks the stain. It stops it from showing through paint. Skipping this step causes problems. The stain will reappear. This ruins your work. Prepare for success.
Choose The Right Primer
Apply Primer Evenly
Allow Primer To Dry Completely
Credit: www.perthprofessionalpainters.com.au
Paint The Ceiling
Water stains on your ceiling? Don’t worry. Proper preparation is key. Learn how to paint over them for a fresh look.
Painting the ceiling is the final step. This hides the stain completely. It makes your room look fresh. Proper painting ensures a smooth, uniform look. It transforms your space.
Select Your Paint Color
Choose a color that matches. Most ceilings are white. Use a good quality ceiling paint. It has a flat finish. This hides imperfections well. Consider a satin finish for kitchens. It is more washable.
Apply First Coat
Stir your paint well. Use a roller for large areas. A brush works for edges. Cut in the corners first. Roll in W-shaped patterns. Overlap each stroke slightly. This prevents lap marks. Let the first coat dry fully. Check the paint can for drying times.
Apply Second Coat (if Needed)
One coat may not be enough. Stains can sometimes show through. Apply a second coat if needed. This ensures complete coverage. Follow the same rolling technique. Ensure even application. This builds up the color.
Achieve A Seamless Finish
Inspect your work closely. Look for missed spots. Touch up any thin areas. Use your brush for small fixes. Keep your roller loaded with paint. Work in good lighting. This reveals any imperfections. Your ceiling will look perfect.
Post-painting Tips
Sure, here is the engaging section of your blog post about post-painting tips for a water-stained ceiling.
You have finished painting. The water stain is gone. Now what? A few final steps ensure your hard work lasts. They also keep your ceiling looking great. Follow these simple post-painting tips.
Clean Up Tools
Clean your paintbrushes and rollers. Use warm water and soap. Rinse them thoroughly. Dry them completely. Store them properly. This keeps them ready for next time. A clean tool works better. It lasts longer.
Inspect For Touch-ups
Let the paint dry fully. Check the ceiling carefully. Look for any missed spots. See if the stain still shows. You might need a second coat. Apply paint only where needed. A small touch-up makes a big difference. It ensures a uniform look.
Maintain Ceiling Health
Find the source of the leak. Fix it right away. Water stains mean a problem. Prevent future damage. Check the ceiling regularly. Look for new spots. Ensure good ventilation. This keeps your ceiling dry. A healthy ceiling looks best.

Credit: www.youtube.com
Frequently Asked Questions
Can I Paint Directly Over Water Stains?
No, you can’t just paint over water stains. The stain will bleed through the new paint. Proper preparation is key for a good finish.
What’s The Best Primer For Water Stains?
Use an oil-based or shellac-based primer. These primers block stains effectively. They prevent the water marks from reappearing.
How Do I Prepare The Ceiling First?
Clean the stained area thoroughly. Let the ceiling dry completely. Then, lightly sand the spot smooth.
What Type Of Paint Works Best?
Latex paint is a good choice. Opt for a quality paint. A satin or eggshell finish hides imperfections well.
How Many Coats Of Primer Do I Need?
Usually, one coat is enough. Apply it evenly to the stain. Let it dry fully before painting.
Should I Use A Special Ceiling Paint?
Regular ceiling paint is fine. Just ensure it’s a good quality product. The primer is more important for stains.
How Long Should I Wait To Paint?
Wait for the primer to dry completely. Check the product instructions for drying times. Then, you can apply your topcoat.
Conclusion
Painting over water stains is achievable. Proper preparation is key. Use a stain-blocking primer first. This stops stains from showing through. Then, apply your ceiling paint. Two coats usually work best. Your ceiling will look fresh. It is a satisfying DIY project.
Enjoy your clean, bright ceiling.