
Is your baseboard heater not warming your room like it used to? The problem might be with the fins inside it.
These small metal pieces play a big role in spreading heat evenly. When they get damaged or worn out, your heater’s efficiency drops, and your energy bills could rise. But don’t worry—replacing fins on your baseboard heater is easier than you think.
You’ll discover simple steps to fix your heater and bring back the cozy warmth you deserve. Keep reading to learn how you can save money and stay comfortable this winter.
Why Replace Baseboard Heater Fins
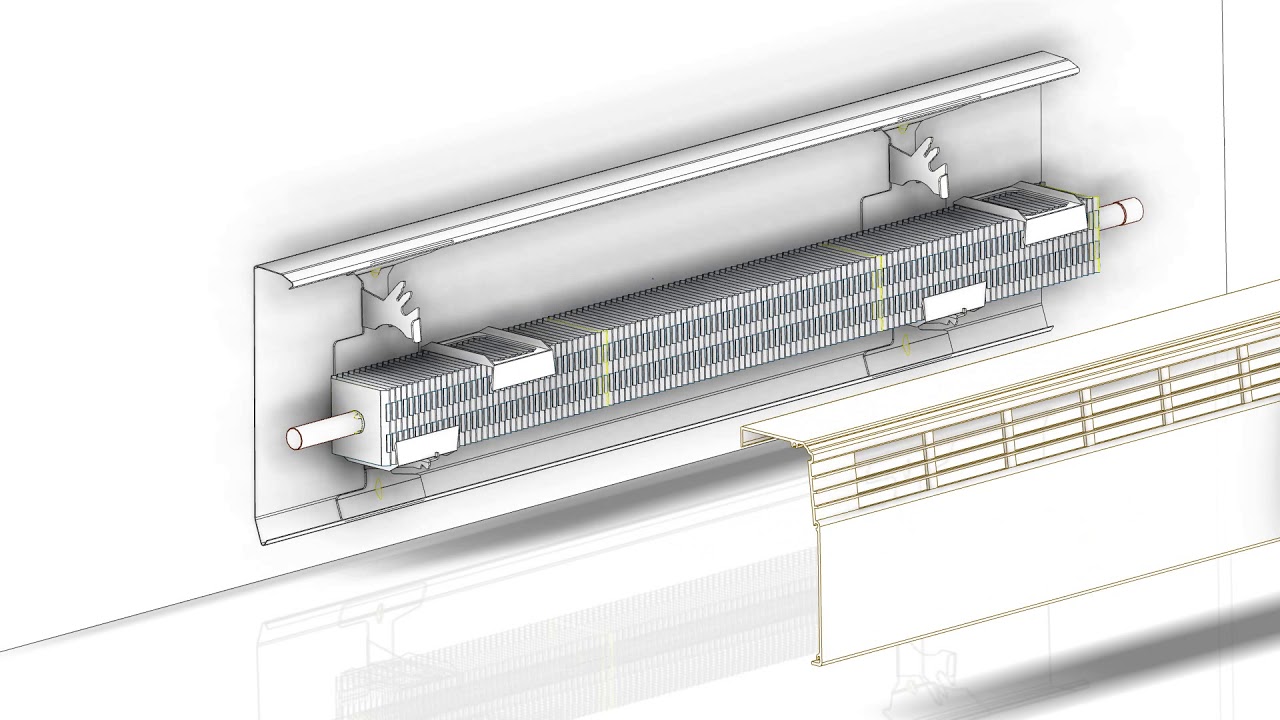
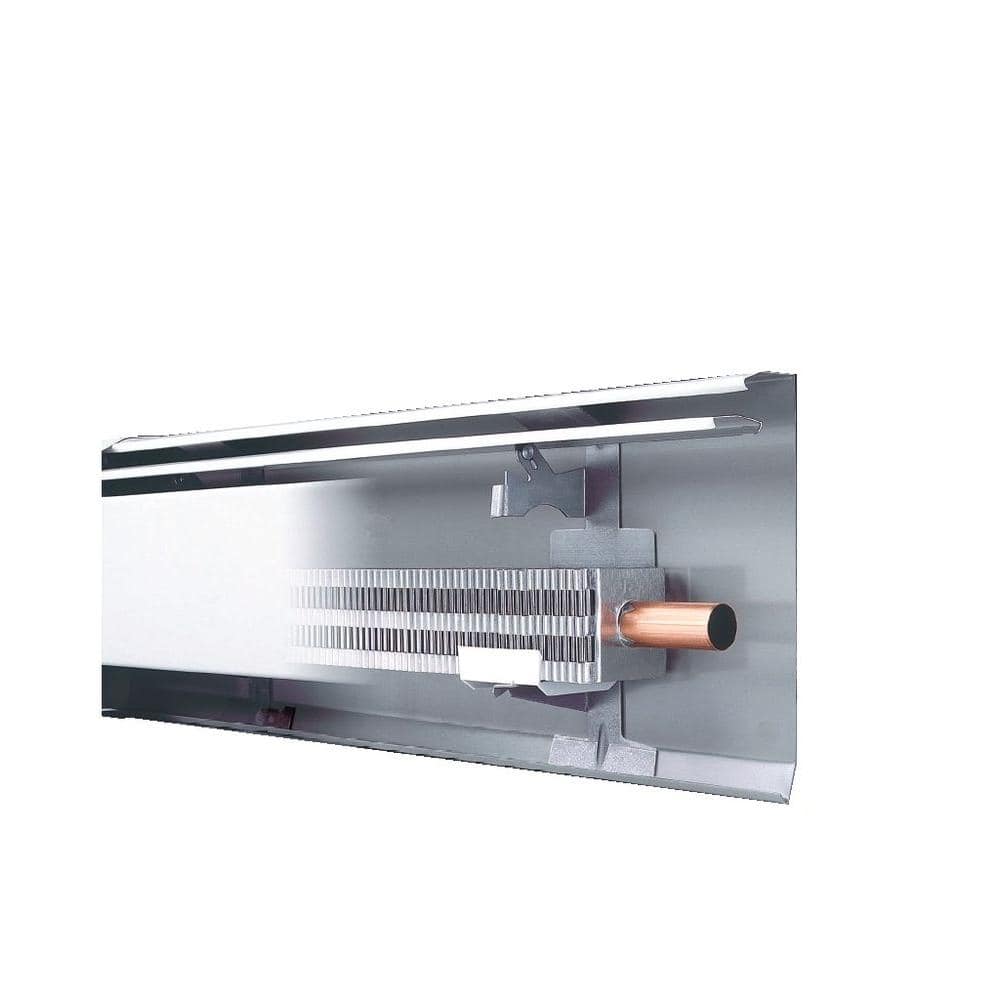
Baseboard heater fins play a key role in heating your room. Over time, these fins can wear out or get damaged. Replacing them keeps your heater working well and saves energy. Understanding why to replace baseboard heater fins helps maintain a warm home and lower bills.
Signs Of Worn Or Damaged Fins
Look for bent or broken fins. Dust and rust build-up also show wear. Uneven heating in your room may mean fins need replacing. Noisy heaters can signal fin damage. These signs affect heater performance and comfort.
Impact On Heater Efficiency
Damaged fins reduce heat flow. This makes the heater work harder. Energy use increases, raising your bills. Good fins spread heat evenly. They help the heater warm your room fast and well.
Cost Benefits Of Replacement
Replacing fins costs less than a new heater. It improves heater life and saves money. Energy savings lower monthly costs. Fixing fins early avoids bigger repairs. A small investment keeps your heater efficient.
Credit: www.esseg.eu
Tools And Materials Needed
Replacing fins on a baseboard heater needs the right tools and materials. These help make the task safe and easy. Having everything ready saves time and avoids frustration. The tools must fit the job to keep the heater working well. Safety gear protects from cuts and dust during the process.
Essential Tools
Start with a flathead screwdriver to remove the heater cover. Use pliers to pull out old fins carefully. Needle-nose pliers help reach tight spots. A wire brush cleans the heater fins and base. Have a soft cloth for wiping dust and dirt. A tape measure checks the size of the replacement fins.
Selecting Replacement Fins
Choose fins that match the heater model. The size must fit perfectly for good heat flow. Look for metal fins that resist rust and heat. Some fins come with paint to stop corrosion. Check the number of fins needed before buying. Buying extra fins helps in case of mistakes.
Safety Equipment
Wear gloves to protect your hands from sharp edges. Safety glasses keep dust and debris out of your eyes. A dust mask stops you from breathing in dirt. Work in a well-lit area to see clearly. Keep a first aid kit nearby for small cuts.
Preparing The Heater For Replacement
Preparing your baseboard heater before replacing the fins is important. It ensures safety and makes the process easier. Follow these steps carefully to get your heater ready for the job.
Turning Off Power
Start by turning off the power to the heater. Find the circuit breaker that controls the heater and switch it off. This step prevents electrical shocks and keeps you safe while working. Confirm the power is off by testing the heater or using a voltage tester.
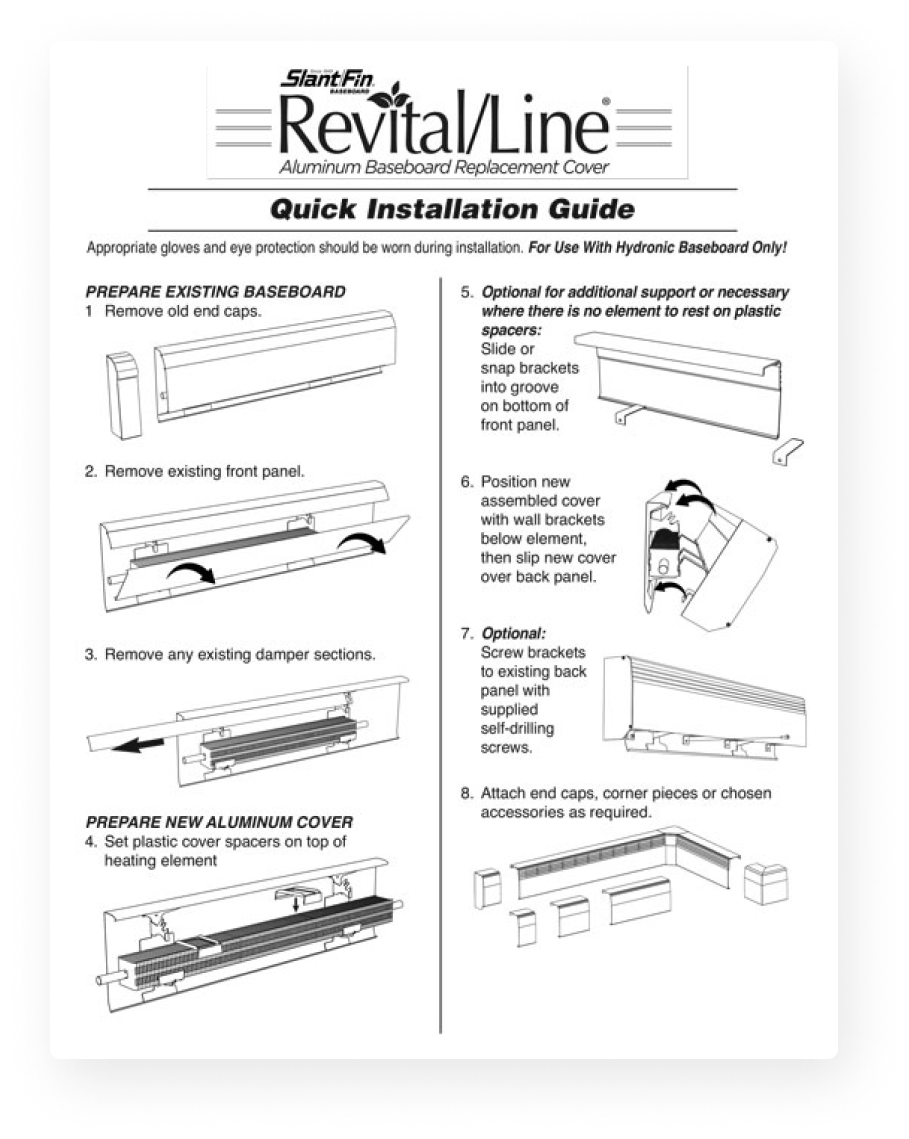
Removing Heater Cover
Next, remove the heater cover to access the fins inside. Most covers are held by screws or clips. Use a screwdriver to gently take off the cover. Place the screws in a safe spot for later use. Removing the cover reveals the fins and allows you to work comfortably.
Cleaning The Unit
Clean the heater unit before replacing the fins. Dust and dirt can block heat flow and reduce efficiency. Use a soft brush or vacuum to remove dust from the fins and inside the heater. Wipe the cover and surrounding areas with a damp cloth. A clean heater works better and lasts longer.
Removing Old Fins
Removing old fins from your baseboard heater is the first step in replacing them. This process needs care to avoid damage to the heater or injury. Old fins may be stuck or rusty, so patience is key. Follow each step closely for a smooth removal.
Detaching Fins Carefully
Start by turning off the heater and letting it cool completely. Use a screwdriver or pliers to loosen the fins gently. Avoid pulling hard to prevent bending or breaking the fins. Work slowly along the length of the heater to detach all fins.
Handling Rust Or Corrosion
Rust may make fins hard to remove. Apply a rust remover or lubricant to loosen them. Let the solution sit for a few minutes before trying again. Wear gloves to protect your hands from sharp edges and chemicals. Clean the area after removal to prepare for new fins.
Disposing Of Old Parts
Old fins should not be thrown in regular trash. Check local recycling rules for metal parts. Wrap sharp edges in newspaper or cloth to avoid injury. Proper disposal keeps your home safe and helps the environment.
Installing New Fins
Installing new fins on your baseboard heater improves heat flow and efficiency. This step must be done carefully to avoid damage and ensure proper heating. Follow simple instructions for a smooth replacement process.
Aligning Fins Properly
Start by placing each fin in line with the heater’s metal base. The fins should be straight and evenly spaced. Misaligned fins block air and reduce heat output. Use a ruler or straight edge to check alignment. Take your time to get this right.
Securing Fins In Place
Once the fins are aligned, press them firmly onto the baseboard. Most fins slide into slots or clip on. Make sure each fin locks securely without bending. Loose fins can rattle or fall off during use. Double-check each fin is stable before moving on.
Checking For Clearance
Check the space between fins and the wall or floor. Fins need enough room to allow air circulation. Too little clearance lowers heater performance. Ensure no objects block the fins. Proper clearance keeps your heater working well and safe.
Credit: www.elaf-food.com
Reassembling And Testing
After replacing the fins on your baseboard heater, reassembling and testing are key steps. These ensure your heater works safely and efficiently. Careful reassembly prevents damage and improves heating performance. Testing confirms the heater runs without issues and warms your space well.
Replacing Heater Cover
Start by placing the heater cover back on carefully. Align it with the baseboard frame. Secure the cover with screws or clips you removed earlier. Avoid forcing the cover to prevent bending or breaking it. A tight fit keeps dust out and helps the heater work better.
Restoring Power
Turn the power back on at the circuit breaker or fuse box. Make sure the switch is in the “on” position. Check for any sparks or unusual smells. If you notice problems, turn the power off immediately and inspect the heater again. Safety first.
Monitoring Heater Performance
Watch your heater for at least 30 minutes after restoring power. Feel the heater fins to check for warmth. Listen for strange noises like buzzing or clicking. Ensure the heater distributes heat evenly in the room. Proper monitoring helps catch issues early and keeps your home comfortable.
Maintenance Tips For Longevity
Proper care extends the life of your baseboard heater fins. Regular maintenance keeps them working well and saves money. Small efforts prevent big problems later. Follow these simple tips to keep your heater fins in top shape.
Regular Cleaning
Dust and dirt block heat from the fins. Clean them often with a soft brush or cloth. Turn off the heater before cleaning. Avoid water or harsh chemicals. Clean fins help heat spread evenly and use less energy.
Periodic Inspections
Check fins for damage or rust every few months. Look for bent or broken fins and fix them gently. Tighten loose screws or brackets holding the fins. Early checks catch issues before they get worse.
When To Replace Again
Replace fins if they are cracked, warped, or heavily rusted. Poor heating or strange noises signal problems. If cleaning and repairs don’t help, new fins improve performance. Timely replacement keeps your heater safe and efficient.
Credit: bprsum.co.id
Frequently Asked Questions
How Do I Know When To Replace Baseboard Heater Fins?
Check if fins are bent, broken, or missing. Damaged fins reduce heater efficiency and airflow. Replacing them restores proper heat circulation.
What Tools Do I Need To Replace Heater Fins Safely?
You need pliers, a screwdriver, and replacement fins. Turn off power before starting to avoid shocks. These simple tools make the job easier.
Can I Replace Fins On Any Baseboard Heater Model?
Most heaters use similar fins, but check your model first. Some may require specific fin sizes or designs. Always match replacements to your heater type.
How Long Does It Take To Replace Fins On A Baseboard Heater?
Replacing fins usually takes 15 to 30 minutes. Time depends on heater size and fin damage extent. Small repairs are quick and simple.
Will Replacing Fins Improve My Heater’s Energy Efficiency?
Yes, new fins help heat spread evenly and faster. This reduces energy use and lowers bills. Clean, straight fins keep your heater working well.
Is It Safe To Replace Fins Without Professional Help?
Yes, if you follow safety steps and use proper tools. Turn off power and handle fins carefully to avoid injury. Many homeowners do this repair themselves.
Conclusion
Replacing fins on a baseboard heater can boost heat flow. It helps the heater work better and save energy. You only need a few tools and some care. This small fix keeps your home warm and cozy. Regular checks stop bigger problems later.
Try this easy task to improve your heater’s life. Stay warm and comfortable all winter long.