If you’re seeing the Raypak High Limit 1 Fault or 2 Fault on your heater, you know how frustrating it can be. These errors stop your system from working, leaving you without the warmth or hot water you rely on.
But don’t worry—fixing these faults is easier than you might think. You’ll discover clear, simple steps to diagnose and solve these common issues fast. By the end, you’ll have your Raypak running smoothly again, saving you time and costly repairs.
Keep reading to take control of your heater and get back to comfort.

Credit: www.reddit.com
Raypak High Limit Faults Explained
Raypak high limit faults are safety errors in your heating system. These faults stop the heater to prevent damage or overheating. Understanding these faults helps you fix them quickly and safely.
High Limit 1 and High Limit 2 faults show that the water temperature is too high. The system detects this and shuts off the burner. This protects your equipment and keeps you safe.
What Causes High Limit 1 Fault
The High Limit 1 fault happens when the water temperature rises beyond the safe limit. This can be due to a dirty or clogged filter. Poor water flow causes the heater to overheat. Another cause is a stuck or faulty high limit switch. It might not reset correctly, causing the fault.
Sometimes, the thermostat is set too high. This makes the heater work harder and reach unsafe temperatures. Check for scale buildup inside the heater. It reduces heat transfer and causes overheating. Regular maintenance helps prevent this fault.
Reasons Behind High Limit 2 Fault
High Limit 2 fault is similar but usually means a more serious issue. It often points to a problem with the water flow sensor. If the sensor fails, the heater thinks water flow is low. This triggers the fault to avoid damage.
Another reason is a failing circulation pump. Without proper water movement, the heater overheats. Electrical problems like loose wiring can cause false readings. This leads to the High Limit 2 fault. Check all components carefully to find the root cause.

Credit: www.reddit.com
Safety First Before Repairs
Fixing Raypak High Limit 1 and 2 faults needs care. Safety is the top priority before starting any repair work. Ignoring safety rules can cause serious injuries or damage. Follow these steps to keep yourself and your equipment safe.
Power Off And Equipment Shutdown
Always turn off the power before touching the heater. Switch off the circuit breaker or unplug the unit. Confirm no electricity flows to the system. This step prevents electrical shocks during repairs. Wait a few minutes for the system to cool down. Hot parts can burn your skin easily.
Necessary Safety Gear
Wear safety gear before working on the heater. Use gloves to protect your hands from sharp edges. Safety glasses keep your eyes safe from dust and debris. Closed shoes protect your feet from heavy parts. Avoid loose clothes that may catch on equipment. Use a mask if dust or fumes are present.
Tools And Materials Needed
Fixing the Raypak High Limit 1 Fault and 2 Fault requires specific tools and materials. Having the right items makes the job easier and safer. This section lists what you need before starting the repair.
Basic Hand Tools
You need screwdrivers to open the control panel. A flathead and a Phillips screwdriver work best. Pliers help to grip and pull wires or small parts. A wrench may be needed to loosen bolts.
Multimeter
A multimeter checks electrical connections and measures voltage. It helps find if the high limit switch is faulty. This tool is essential for accurate troubleshooting.
Replacement High Limit Switch
The high limit switch may need replacement. Use the exact model designed for your Raypak heater. This ensures proper fit and function.
Insulation Tape
Insulation tape protects exposed wires. It prevents short circuits and electrical hazards. Use good quality tape made for electrical use.
Safety Gear
Wear safety gloves to protect your hands. Safety glasses keep debris out of your eyes. Always prioritize safety when working with electrical equipment.
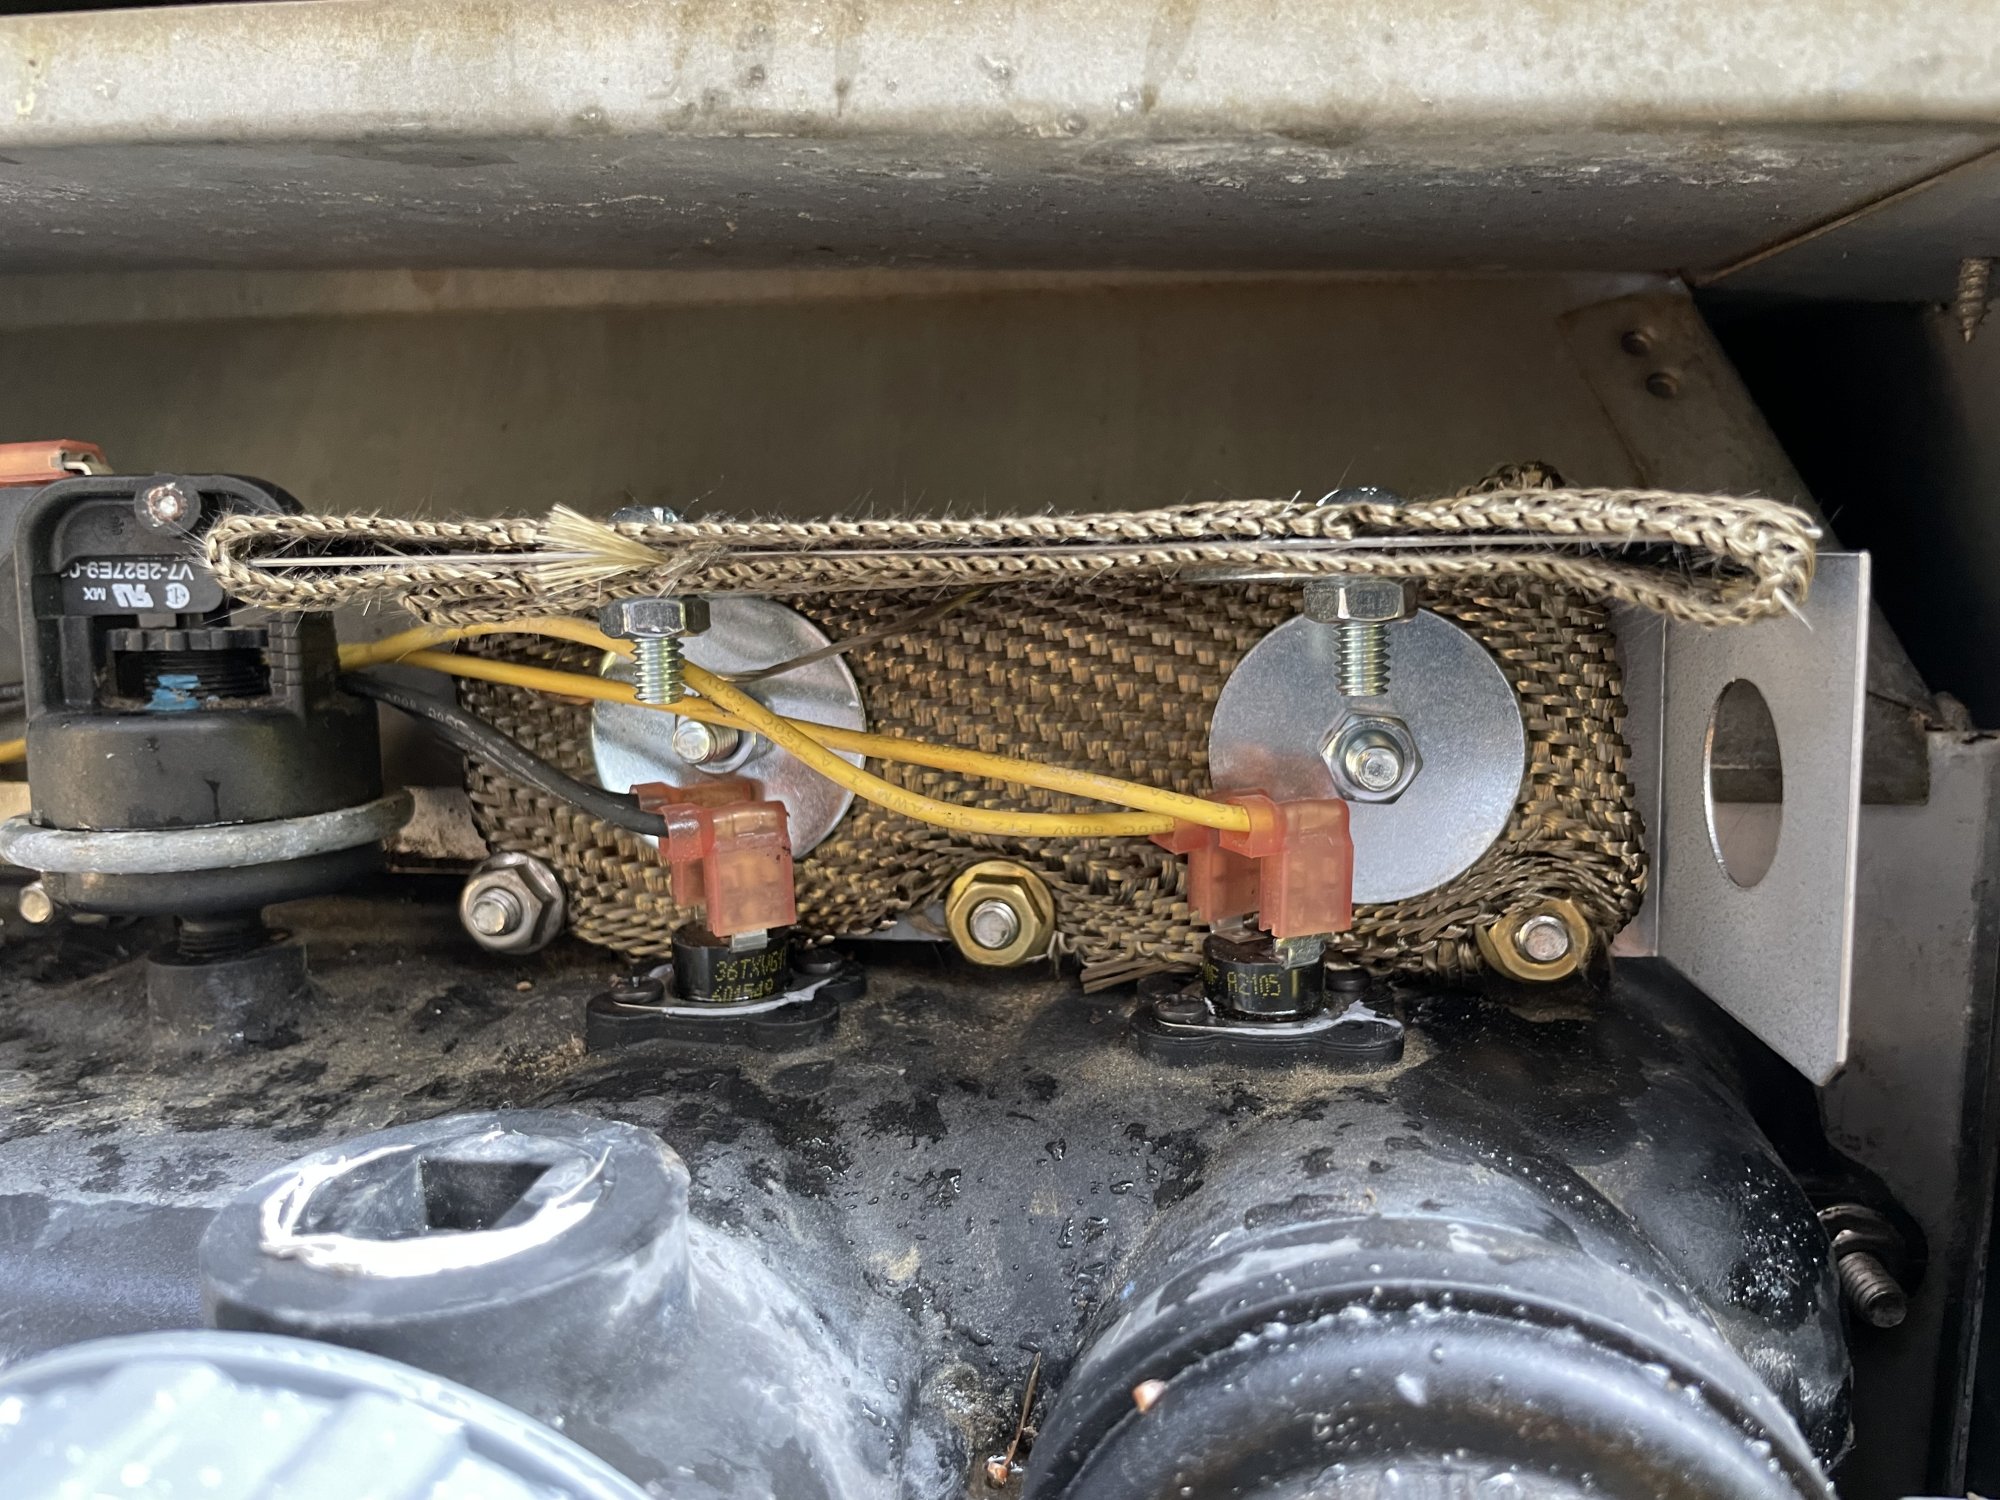
Inspecting The High Limit Switch
Inspecting the high limit switch is a key step in fixing Raypak High Limit 1 and 2 faults. The high limit switch stops the heater from overheating. If it fails, the system shows fault codes and stops working. Checking this switch helps find if it is the cause of the problem.
Locating The High Limit Switch
The high limit switch is near the burner or heat exchanger. It looks like a small round or oval device with wires attached. Find it on the heater’s control panel or inside the access panel. Use the heater’s manual for exact location details. Make sure the heater is off and cool before touching anything.
Checking For Visible Damage
Look closely at the high limit switch for cracks or burns. Check the wires and connections for loose or broken parts. A damaged switch will have dark marks or melted plastic. Any visible damage means the switch might need replacement. Clean dirt or dust gently to get a better view of the switch.
Resetting The High Limit Switch
The high limit switch on your Raypak heater stops the system if it gets too hot. Resetting this switch can clear faults like High Limit 1 and High Limit 2. This step helps the heater work again without calling a technician. Follow simple steps to reset the switch safely and get your heater back to normal.
Manual Reset Process
First, turn off the power to the heater. This keeps you safe while working. Find the high limit switch on the heater’s control panel. It usually has a small red button. Press the red button gently until you hear a click. This click means the switch has reset. Turn the power back on and check if the heater runs normally. If the fault clears, the reset worked.
When To Replace Instead Of Reset
Resetting works only if the switch is not damaged. If the heater keeps faulting after reset, the switch may be bad. Also, if the red button does not stay pressed, replacement is needed. A faulty switch can cause safety risks. Replace it to protect your heater and home. Always use the right parts made for Raypak heaters.
Credit: www.troublefreepool.com
Cleaning And Maintaining Components
Cleaning and maintaining your Raypak heater is key to fixing High Limit 1 and 2 faults. Dirt and dust can block sensors and parts. This causes your heater to stop working properly. Regular care keeps the system safe and running smoothly.
Check the main parts often. Clean out any debris. Look at wires and connections for damage. Small problems can cause big faults. A clean heater works better and lasts longer.
Removing Debris And Dust
Start by turning off the power to your Raypak heater. Use a soft brush or cloth to remove dust from sensors and vents. Clear away leaves, spider webs, and dirt around the heater. Dust buildup can cause overheating and false fault signals. Keep all parts free of dust for best performance.
Inspecting Wiring And Connections
Look closely at all wiring and connections. Loose or damaged wires can cause faults. Tighten any loose screws and fix broken wires. Check for corrosion or burn marks. Damaged wiring can stop sensors from working right. Clean and secure all connections to avoid errors.
Testing The System After Repair
After fixing the Raypak High Limit 1 or 2 fault, testing the system is key. This step ensures the repair worked well. It also confirms the heater runs safely and smoothly. Careful testing avoids further damage or hazards. Follow these steps to check the system thoroughly.
Powering On And Monitoring
Turn on the power to the Raypak heater carefully. Watch the startup process closely for any unusual signs. Listen for strange noises or smells. Check the display panel for error codes or warnings. Keep an eye on the water temperature and pressure gauges. Make sure all components activate as expected. Stop immediately if you see problems or faults return.
Verifying Fault Resolution
Confirm the original fault codes no longer appear. Run the heater for at least 15 minutes. Observe if the High Limit sensors stay stable. Check that the system maintains normal temperature without shutting off. Test the reset buttons if available. Ensure the heater cycles on and off correctly. This confirms the repair fixed the issue properly.
Preventing Future High Limit Faults
Preventing future High Limit faults on your Raypak heater is essential. These faults often signal overheating or safety issues. Taking steps to avoid these problems saves time, money, and stress. Regular checks and care keep your system running smoothly and safely.
Regular Maintenance Tips
Check the heater’s water flow regularly. Low flow can cause overheating and trigger High Limit faults. Clean filters and valves to keep water moving freely. Inspect the heater’s sensors and wiring for damage. Replace worn or faulty parts promptly. Schedule professional inspections at least once a year. Proper maintenance extends the heater’s life and reduces faults.
Signs Of Potential Issues
Watch for unusual noises or smells from the heater. These can indicate overheating or electrical problems. Notice if water takes longer to heat or if the heater shuts off unexpectedly. Look for error codes on the control panel. These signs warn about future High Limit faults. Early detection helps prevent costly repairs and keeps the heater safe.
Frequently Asked Questions
What Causes Raypak High Limit 1 Fault?
High Limit 1 Fault occurs due to overheating or a faulty temperature sensor.
How To Reset Raypak High Limit 1 Fault?
Turn off the heater, wait a few minutes, then turn it back on.
What Triggers Raypak High Limit 2 Fault?
High Limit 2 Fault is usually triggered by a blocked water flow or sensor issues.
Can I Fix Raypak High Limit Faults Myself?
Yes, simple resets and cleaning can fix most faults, but call a technician if unsure.
How To Prevent Raypak High Limit Faults?
Regular maintenance and checking sensors keep the system running smoothly without faults.
When Should I Replace Raypak Temperature Sensors?
Replace sensors if faults persist after cleaning and resetting the heater.
Conclusion
Fixing Raypak High Limit 1 and 2 faults is manageable with clear steps. Check the sensors and wiring carefully. Clean or replace parts that seem damaged. Reset the system to see if faults clear. Regular maintenance helps prevent these errors.
Staying patient and thorough makes repair easier. This guide aims to help you save time and avoid extra costs. Keep your pool heater working smoothly with simple care.